
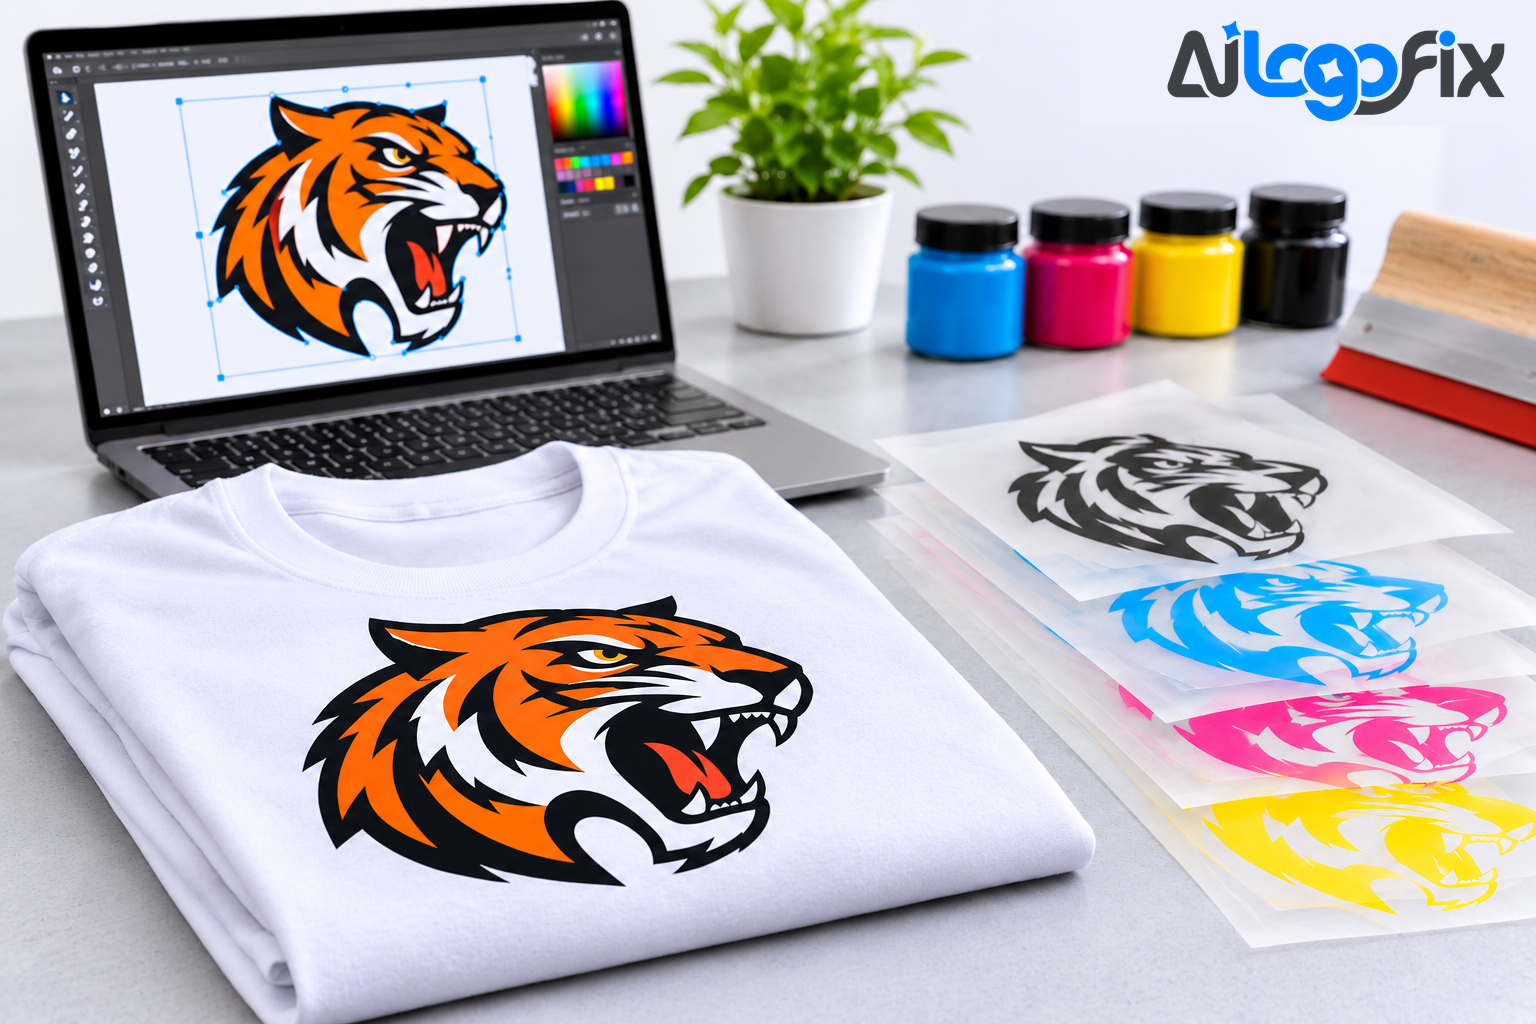
You did the hard part: the design looks great on screen. Then the printer emails back — blurry print, rejected artwork, or a surcharge to "fix" your file. Nine times out of ten, the problem is not the design. It is the file format.
For t-shirt printing, the choice usually comes down to two contenders: vector files (AI, EPS, SVG, PDF) and PNG. Both can produce a good shirt, but they are built for different jobs, and sending the wrong one to the wrong printing method is how good designs turn into faded, fuzzy, cracked prints. This guide compares both formats by printing method, explains the 300 DPI rule that decides whether a PNG survives, and ends with a simple checklist of what to send your printer.
Vector vs PNG: the 30-second difference
A vector file stores your design as mathematical paths — lines, curves, and shapes defined by coordinates. A PNG stores it as a grid of pixels. That single difference decides almost everything.
Scale a vector logo from a chest pocket to a full back print and every edge stays razor-sharp, because the printer redraws the paths at the new size. Scale a PNG up and the pixels stretch with it, so edges go soft and text turns fuzzy. Vector files also carry clean, separate colours, which is what a screen printer needs to separate your design into one screen per colour. A PNG cannot be colour-separated the same way, because its colours are baked into pixels.
PNG has one real advantage: it handles photographs and complex, soft imagery that vector paths cannot reproduce faithfully. It also supports a transparent background, which is why it is the standard upload for direct-to-garment (DTG) and direct-to-film (DTF) printing. The honest answer to "vector or PNG?" is therefore not one format for everything — it is the right format for your printing method.
What each format actually is
Vector files (AI, EPS, SVG, PDF)
Vector formats — Adobe Illustrator (AI), EPS, SVG, and vector PDF — describe artwork as paths rather than pixels. A logo drawn at 5 cm can be output at 50 cm with no loss of sharpness, which is why printers call vector the gold standard for logos, text, and simple illustrations. Vector files are also editable: colours can be changed, text can be converted to outlines, and shapes can be adjusted without redrawing anything. For screen printing in particular, vector artwork is far easier to colour-separate and produces cleaner results at any print size.
The catch is that a vector file has to be made properly. A PNG saved with an SVG extension is not a vector — it is still pixels in a different wrapper. A real vector has editable paths and a low node count, and it opens in Illustrator or similar software as shapes you can select and move.
PNG (Portable Network Graphics)
PNG is a raster format, but it is the best of the raster options for t-shirt work. Unlike JPG, it uses lossless compression, so it does not add the blocky compression artefacts that ruin edges. Unlike JPG, it supports a transparent background, which matters enormously on dark shirts: a white background in your file prints as a solid white square. PNG is the right container for photographs, gradients, and complex artwork with many colours.
Its hard limit is resolution. A PNG only looks sharp when it is supplied at 300 DPI at the actual print size. Below that, the printer cannot invent detail that is not in the pixels, and the print comes out soft. A PNG that looks perfect on your phone screen is often only 72 DPI, which is less than a quarter of what print needs.
Which format wins by printing method
- Screen printing: Best format: Vector (AI, EPS, SVG, PDF); Why: Needs colour separations and sharp edges; spot colours and Pantone matching only work from vector
- DTG (direct-to-garment): Best format: PNG, transparent background, 300 DPI, RGB; Why: DTG printers jet ink like an inkjet; they handle full-colour raster art well
- DTF (direct-to-film): Best format: PNG, transparent background, 300 DPI, RGB; Why: Same raster workflow as DTG, transferred via film
- Heat transfer / vinyl: Best format: Vector; Why: Cut lines and weeding need clean paths, not pixels
- Embroidery: Best format: Vector; Why: The digitiser needs clean shapes to build stitch paths from
The pattern is consistent: whenever a machine has to follow an edge — a screen, a blade, or a needle — vector wins. Whenever the machine sprays ink onto fabric, a high-resolution PNG does the job.
The 300 DPI rule (PNG's one hard requirement)
DPI, or dots per inch, measures how many pixels fit into one inch of print. For t-shirt printing, the industry standard is 300 DPI at the actual print size. At that density the human eye can no longer pick out individual pixels, and the print looks sharp. Below roughly 150 DPI, pixelation becomes visible in the finished shirt.
The rule has a trap: resolution must be set before you design, not after. Enlarging a 72 DPI image to 300 DPI does not add detail — it just spreads the same pixels over more dots. For a full chest or back print, aim for roughly 4,000 pixels wide at 300 DPI. If your PNG is a 500-pixel logo pulled from a website, no amount of resizing will make it print-ready.
Colour mode matters too. Use RGB for DTG, DTF, and most print-on-demand services, since their software works in RGB and converts automatically. Use CMYK for screen printing with process colours, where the printer needs to match physical inks.
When PNG is the right call
PNG is the correct choice when your design is a photograph, has soft gradients, or contains so many colours and textures that redrawing it as vector paths would be impractical. A photographic print, a watercolour-style illustration, or a complex piece of digital art will always print better as a high-resolution PNG than as a forced, posterised vector trace.
PNG is also fine for DTG printing at small sizes, for a quick proof or mockup before production, and for simple designs that are already at 300 DPI or higher. If you are ordering one shirt for yourself through a print-on-demand service, a proper PNG is usually all you need.
When vector is the only right call
Vector is non-negotiable for screen printing, where the printer must separate your design into one screen per colour. It is the only sensible choice for large prints — full chest, full back, sleeves — because a PNG big enough for a back print at 300 DPI becomes an enormous file and still risks softness. It is also the only choice for text-heavy designs, fine lines, and small details, which are the first things to blur in a raster file.
And it is the practical choice for reuse. A vector logo can go on a shirt today, a banner tomorrow, and a billboard next year from the same file. A PNG would need to be recreated at a higher resolution for each new size.
What to send your printer: a checklist
- Vector for logos, text, and simple graphics: AI, EPS, SVG, or vector PDF, with fonts converted to outlines.
- PNG for photos and complex art: transparent background, 300 DPI at final print size, RGB for DTG/DTF, CMYK for screen printing.
- Always: artwork at the exact size you want printed, with the background removed — never a white box on a dark shirt.
- Never send: a JPG for print work (no transparency, lossy compression), a screenshot, or a logo pulled from a website at screen resolution.
If your printer asks for a format you do not have, do not guess. Ask what they need it for — separation, cutting, or direct printing — and convert from the best source file you own, not from a low-resolution copy.
How to get a vector from a PNG you already have
Most people in this situation have one file: a PNG logo, maybe a JPG from an old designer, sometimes just a screenshot. The fix is a manual redraw, not an auto-trace. Automatic tracing tools follow pixels and produce thousands of jagged anchor points, rough edges, and muddy colours — exactly the flaws a screen printer will reject. A human designer rebuilds the logo as clean paths, matching your fonts and colours, and delivers the AI, EPS, SVG, and PDF files your printer actually wants.
That is what AiLogoFix's Raster to Vector service does: your pixel logo, hand-redrawn as a production-ready vector, from $10, with the full file package your printer needs. If the logo itself also needs fixing — wrong colours, outdated type, a layout that never quite worked — the Logo Modify service can update it while converting it to vector, from $15.
FAQ
Is PNG or vector better for t-shirt printing?
Vector is better for screen printing, large prints, text, and anything that needs colour separations. PNG is better for photographs and complex full-colour art printed with DTG or DTF — as long as it is 300 DPI at print size with a transparent background.
Can I use a PNG for screen printing?
You can, but your printer will usually ask for vector instead. Screen printing needs one screen per colour, and separations are only reliable from vector artwork. A PNG can work for a single-colour or very simple design, but expect the printer to charge for converting it.
What DPI should a PNG be for t-shirt printing?
300 DPI at the actual print size. A full chest or back print usually means around 4,000 pixels wide. Below 150 DPI, pixelation becomes visible on the finished shirt.
Why does my PNG look good on screen but bad on a shirt?
Screens show images at around 72 DPI, so a small PNG looks sharp on your phone. Print needs roughly four times that density, so the same file falls apart when enlarged to shirt size.
Can a JPG be used for t-shirt printing?
Not recommended. JPG has no transparency, so it prints a white box on dark shirts, and its lossy compression adds artefacts around edges and text. Use PNG for raster work and vector for logos.
Conclusion
Vector and PNG are not rivals — they are tools for different printing methods. Vector wins wherever a machine follows an edge: screen printing, vinyl, embroidery, and large-format work. PNG wins for photographs and complex full-colour art on DTG and DTF, provided it is 300 DPI at print size with a transparent background. The expensive mistake is sending one where the other belongs, so check your printing method first, then send the format that method needs. And if the only file you have is a low-resolution PNG, get it redrawn as a vector before you order — it is cheaper than reprinting a hundred blurry shirts.
---
Need your logo print-ready? Our specialist team can help.
Get Your Logo Print-Ready — Hand-Redrawn as a Vector, From $10
If your logo only exists as a PNG or JPG, our designers will hand-redraw it as a clean, production-ready vector — AI, EPS, SVG, and PDF included — so your printer gets exactly what they asked for. No auto-trace, no jagged edges, and refinements within your selected package and agreed brief.
Questions first? Message the team — tell us what you are printing and we will confirm the right format for free.
---