
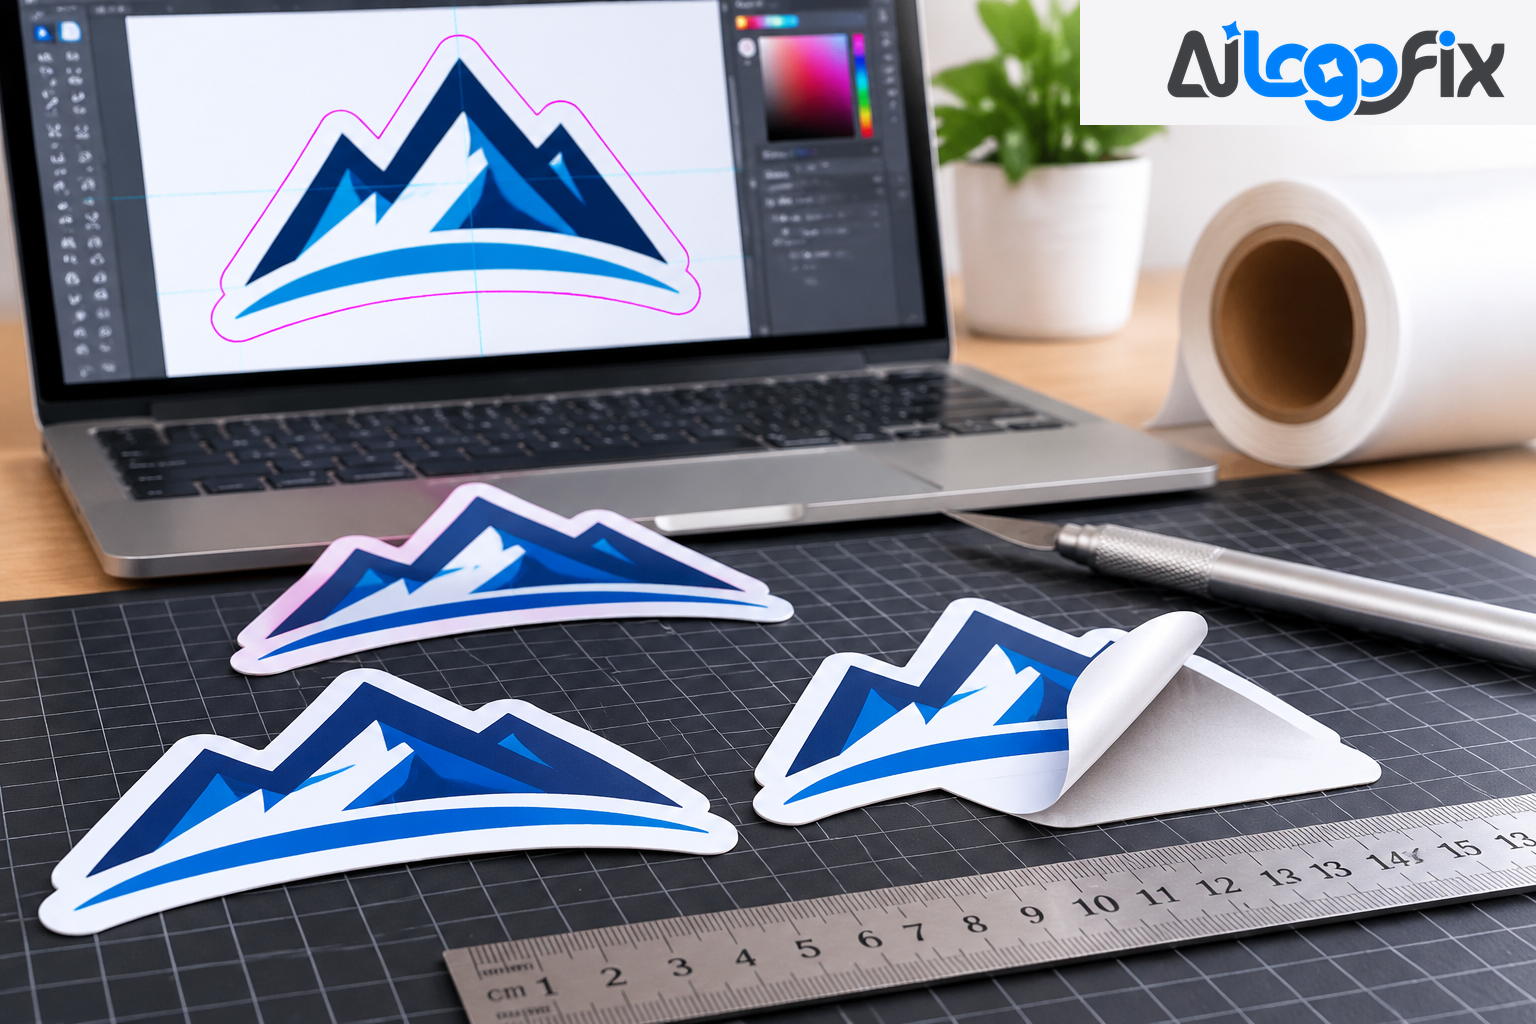
A die-cut sticker is cut to the exact outline of your artwork — no square border, no white margin, just the shape of your logo, character, or design. It looks effortless on a laptop or a product label. Behind that clean edge is a file that has to be built precisely, and most die-cut jobs that get delayed or rejected fail on the file, not the design.
Print shops reject die-cut artwork when the file is missing something the cutting machine needs: a cut path, bleed past the cut line, or a vector format the plotter can read. This guide explains exactly what a print shop needs, in the order they check it.
What a die-cut file actually is
A die-cut sticker is printed and cut on the same sheet, so the file has to carry two things at once: the artwork as clean vector at print size, and a separate cut path that tells the cutter where to go. A raster image — JPG, PNG, or a flattened TIFF — cannot carry an editable cut path. The printer would have to trace one by hand, guess at your intent, and bill you for it, or send the file back. This is the single most common reason die-cut sticker artwork gets rejected.
So die-cut work is, by definition, vector work. The artwork inside the file can contain raster elements, but the file as delivered must be a vector file with a live, editable cut path. That is the first thing a print shop checks, and it decides whether your job moves forward or comes back to you.
The 4 parts of a print-ready die-cut file
A correct die-cut file has four distinct parts. Get all four right and the printer can run the job without touching it.
1. Clean vector artwork at print size
Every shape rebuilt as closed vector paths at print size, with one clean fill per colour, so the printer gets real edges instead of soft pixels. Text should be converted to outlines so a missing font cannot reflow your layout.
2. The cut path (dieline)
A single closed vector stroke that traces the outline the blade will follow. It sits on its own named layer — commonly `CutContour`, `Cut`, or `Dieline` — and it is set as a spot colour so the RIP software reads it as a cut instruction, not printed ink. The stroke is a hairline (0.25 pt or thinner) with no fill: the path is an instruction, not a shape to be printed. Rounded corners, no narrow necks, and small loose pieces joined into one shape the blade can follow.
3. Bleed past the cut line
Bleed is artwork that extends past the cut path — the standard is 3 mm (about 1/8 inch) on every side. No cutting machine is perfect; the blade drifts a fraction of a millimetre on every run. Bleed means that when it drifts outward, it is still slicing through your design and not through bare backing paper. Artwork that stops exactly at the cut edge will show a white sliver the moment the cut lands even slightly off.
4. The safe zone inside the cut line
The mirror of bleed. The safe zone sits 3 mm inside the cut path, and every element you cannot afford to lose — text, faces, logo edges — stays within it. Bleed and safe zone together give the cut a 6 mm tolerance band, which is what keeps a production run consistent from the first sticker to the last.
Some jobs need a fifth part: a white layer. For clear, holographic, or metallic stock, a separate white shape sits under the parts that should be opaque, on its own named spot-colour layer, so the printer knows where to lay down white ink first.
The cut path: CutContour and spot colours
The cut path works because of a naming convention. Every major RIP (Raster Image Processor) used by commercial print suppliers reads cut paths by detecting a specific spot colour name. The most widely accepted conventions are:
- CutContour — Roland, Summa, and Graphtec cutters
- Die or DieLine — some offset and screen workflows
- 100% Magenta spot — a common fallback in trade printing
Check with your supplier before finalising — some shops want CutContour, others a 100% Magenta spot on the top layer. The name has to match what their RIP expects, or the cutter will print your cut line as ink or ignore it entirely. One question before you export saves a rejected job: "What spot colour name do you want for the cut path?"
Bleed and safe zone: the 3 mm rule
Getting bleed and safe margins right is the single most common point of failure in die-cut sticker files. The numbers are simple — 3 mm of bleed beyond the cut path, and critical elements at least 3 mm inside it — but they are easy to get wrong, because they have to be built into the artwork from the start. You cannot add bleed to a finished file by stretching it; the background shapes have to actually extend past the cut line.
For US shops the same rule is usually stated as 1/8 inch, which is about 3 mm. Either way, the principle is identical: artwork extends 1/8 inch past the cut line, and text and critical elements stay 1/8 inch inside it. If your printer quotes different numbers, follow theirs — their machine's tolerance is the one that matters.
Die-cut vs kiss-cut: same file, different depth
Die-cut and kiss-cut describe how deep the blade goes, not how the file is drawn. A die-cut sticker is cut through the vinyl and the backing, so the backing takes the sticker's shape. A kiss-cut sticker is cut through the vinyl only, leaving the backing whole — a square backing, or a sheet of stickers that peel off one by one. The cut path is drawn the same way for both; the depth is set at the printer. You need one correct file, and you tell the printer which finish you want.
File formats print shops accept
PDF is preferred, with AI or SVG also accepted — a print-ready PDF carries the artwork, cut path, and spot colours in one file the printer can open without your fonts or software. AI and EPS work too, as long as the cut path stays live and editable.
Raster-only files — JPG, PNG, or flattened TIFF — cannot carry a dieline, and a print shop will send them back. If your artwork only exists as a PNG or JPG, it has to be redrawn as a vector first, with the cut path built in.
Why raster files get rejected
A cutting plotter reads vector paths; it cannot read pixels. Give it a JPG and there is literally nothing for the blade to follow. The shop can trace the artwork by hand and charge you for it, guess where the cut should go and risk a bad result, or return the file. Most shops choose the third option.
The same applies to "vector" files that are not really vector. A PNG embedded inside an SVG, or a JPG placed into a PDF, still has no paths for the cutter to follow. Open your file and click a shape: if the whole design selects as one flat picture, the cutter cannot use it.
Common mistakes checklist
- No cut path at all — the most common rejection. The artwork is vector, but nobody drew the line the blade follows.
- Cut path printed as ink — the path was drawn in a process colour instead of a named spot colour, so the RIP prints it.
- No bleed — artwork stops at the cut line, so any blade drift shows a white edge.
- Text outside the safe zone — lettering sits too close to the edge and gets clipped.
- Open paths or tiny fragments — the cut path is not one closed shape, or it has hairline gaps and loose pieces the blade cannot follow.
- Raster-only delivery — a JPG or PNG with no vector content and no dieline.
Run through that list before you send anything.
How to get a die-cut-ready vector
If your artwork is a logo, a sketch, or a low-resolution image, the path to a die-cut file starts with a clean vector redraw. AiLogoFix's Raster to Vector service hand-redraws pixel artwork as clean, closed vector paths in AI, EPS, SVG, and PDF, from $10 — the exact formats a print shop accepts. Tell the team the file is for die-cutting when you order, so the artwork is prepared with cutting in mind. And if your design started life as a hand-drawn sketch, the Sketch to Vector service turns it into the same production-ready vector, keeping the character of your drawing intact.
FAQ
What file format do print shops need for die-cut stickers?
A vector PDF is preferred, with AI or SVG also accepted. The file must contain clean vector artwork plus a separate cut path on its own layer, set as a spot colour. Raster-only JPG or PNG files cannot carry a dieline.
What is a CutContour line?
CutContour is the spot-colour name that Roland VersaWorks and many other RIPs read as "cut here, don't print". The line sits on its own layer, offset from the artwork, as a hairline stroke with no fill.
How much bleed do die-cut stickers need?
3 mm (about 1/8 inch) of artwork past the cut path on every side, and critical elements at least 3 mm inside the cut path. Together they give the cut a 6 mm tolerance band.
What is the difference between die-cut and kiss-cut?
Die-cut slices through the vinyl and the backing, giving you an individually shaped sticker. Kiss-cut slices through the vinyl only, leaving the backing whole so stickers peel off a sheet. The file is drawn the same way; the depth is set at the printer.
Can I send a PNG for die-cut printing?
Not on its own. A PNG has no vector paths, so the cutter has nothing to follow. The PNG has to be redrawn as a vector first, with a cut path added.
Conclusion
A die-cut file is not complicated, but it is specific: clean vector artwork at print size, one closed cut path on its own spot-colour layer, 3 mm of bleed outside the cut line, and a 3 mm safe zone inside it. Miss any one of those and the job comes back. Get them all right and the printer runs it without a single question. If your artwork is still a PNG or a sketch, get the vector built first, and tell the team it is for die-cutting so the file is prepared for the blade, not just the screen.
---
Need a die-cut-ready vector? Our specialist team can help.
Get Your Artwork Cut-Ready — Hand-Redrawn as a Vector, From $10
Send us your logo, image, or sketch and our designers will hand-redraw it as clean, closed vector paths in AI, EPS, SVG, and PDF — the formats your print shop accepts. Mention it is for die-cutting when you order, and refinements come within your selected package and agreed brief.
Questions first? Message the team — tell us what you are cutting and we will confirm the right file setup for free.
---