
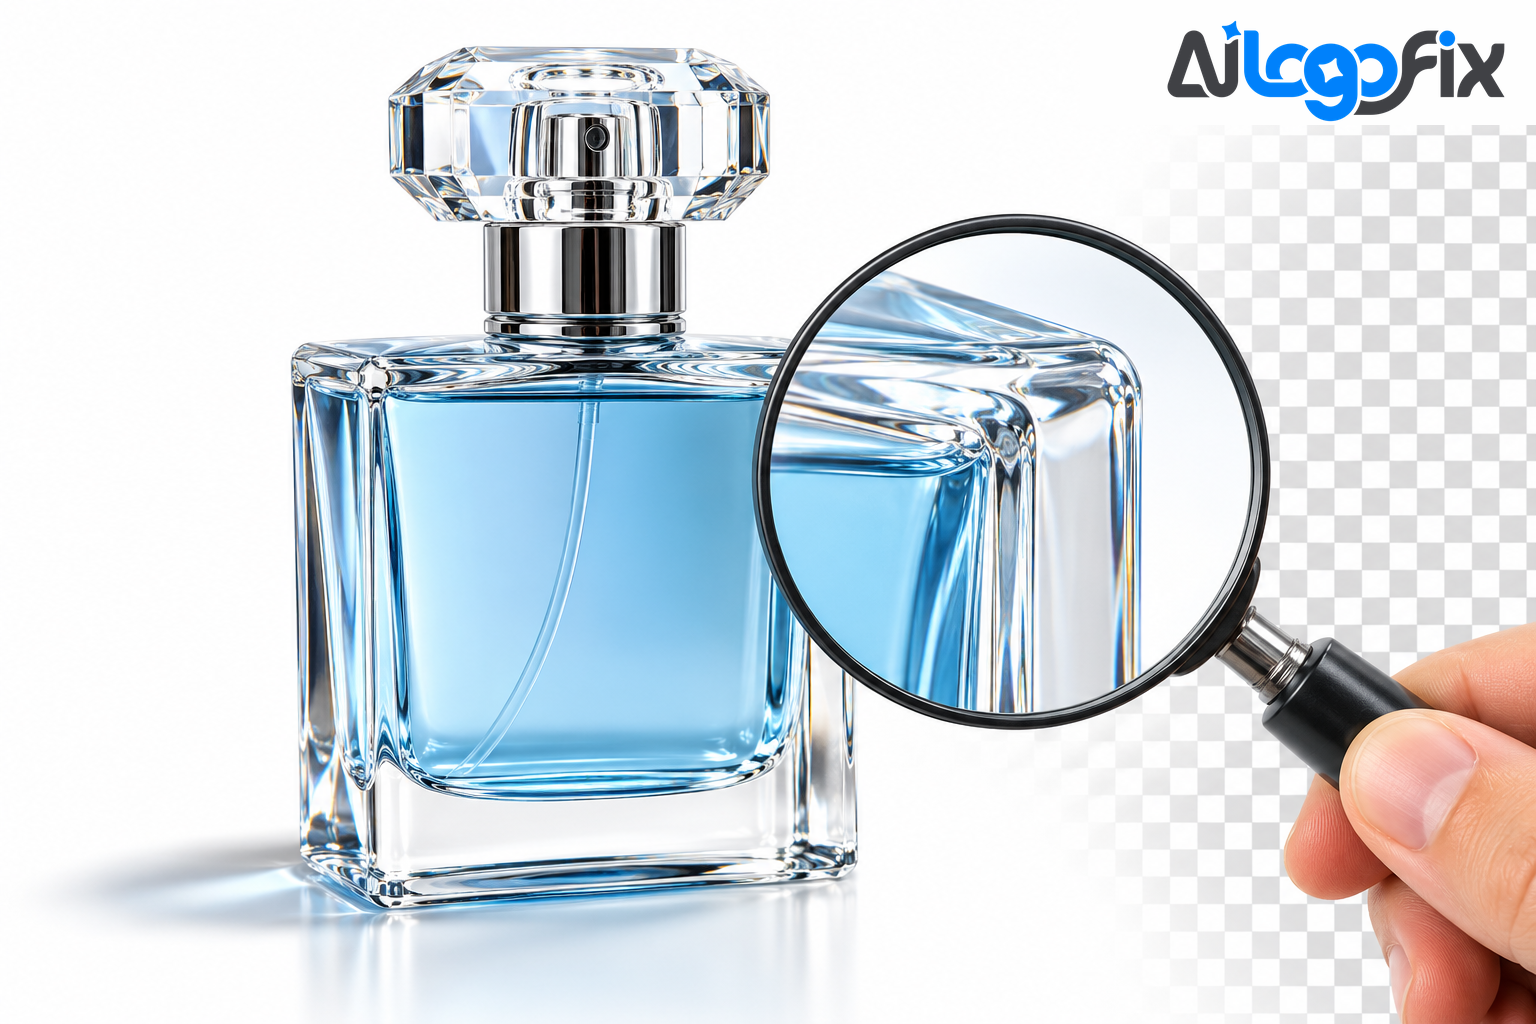
You photograph a glass bottle, a perfume flacon, a clear cosmetics jar. You remove the background. And the product falls apart on screen — the edges vanish, the glass turns into a ghost, a white halo rings the outline, and the bottle looks like it was cut out with blunt scissors.
Glass and transparent products are the hardest subjects in background removal. This guide explains why their edges vanish, what is actually happening at the pixel level, and how a clean cut is done — whether you do it yourself or hand it to a specialist.
Why glass breaks every automatic remover
A background remover works by deciding, for every pixel, whether it belongs to the product or the background. That decision is easy when the product is a solid red shoe on a white sweep. It is nearly impossible when the product is glass — because glass is not one thing. It is a mix of reflections, refractions, highlights, and see-through areas, and the pixels at its edge are partly the product and partly whatever was behind it.
A production-grade remover handles this with an alpha matte: it predicts partial transparency per pixel rather than a flat in-or-out mask. A hard binary mask forces every pixel to be fully in or fully out — and that is exactly where halos come from. Glass needs the in-between. When the tool cannot tell where the glass ends and the background begins, it guesses — and the guess shows up as a vanished edge, a milky patch, or a fringe of leftover background colour.
The three ways edges vanish
1. The white halo
A thin light outline left around the cutout. It comes from edge pixels that were blended with the white background. Place the cutout on a dark background and it shows immediately. The cause is simple: a few background pixels survived along the edge. The fixes are standard — contract the selection by 1 to 2 pixels before masking, run Remove White Matte or Defringe at 1 to 2 pixels, or paint the mask edge with a small black brush. The key step most people skip: always check the cutout on a dark background and on a mid-grey one before you export. Halos hide on white and scream on charcoal.
2. The disappearing edge
Glass edges are semi-transparent by nature. An aggressive remover treats those soft, see-through pixels as background and deletes them — so the rim of the bottle, the neck, or the thin wall of a jar simply disappears. The same thing happens with sheer fabric, thin plastic, and liquids inside glass. The tool did not "miss" the edge; it classified it as background. The fix is a softer touch: refine the uncertain boundary with an alpha matte or refine brush, keep a small feather (0.3–0.7 pixels is enough), and never let a hard mask decide a soft edge.
3. The opaque glass problem
Sometimes the opposite happens: the glass turns solid. The remover, unsure what is glass and what is background, fills the transparent areas with a flat tone. The bottle looks like plastic. This is the hardest case, because no remover can invent realistic refraction — it only estimates edges and alpha. The realistic fix happens after removal: rebuild the transparency in your editor, add a faint shadow or reflection on the new background to anchor the product, and repaint tiny highlights so the glass feels crisp again.
The other repeat offenders
Glass is the worst case, but it is not the only one. The subjects that break background removal most often are transparent packaging, fur and fibrous textures, thin wires and straps, white products on pale backgrounds, reflective metal, and anything carrying a strong cast shadow. White-on-white is its own special problem: a white sneaker, mug, or label on a white background defeats colour-based methods entirely, because the edge is the same brightness as the backdrop. For those, subject-based selection plus hand-fixed mask edges is the only reliable route.
How a clean cut is actually done
A proper product cutout follows a strict order, and the order matters:
1. Start with a coarse mask. Run the automatic remover to separate product from background — but treat the result as a draft, never the finish. 2. Refine the uncertain boundary. Work the soft and semi-transparent zones with an alpha matte or refine brush. This is where glass lives or dies. 3. Inspect at 100 to 200 percent. Move around the whole outline, not just the corners. You are looking for fringing, clipped straps, missing fill inside mesh, and background colour bleeding into the edge. If you cannot zoom to 200 percent and trace the outline without finding a fringe, the cutout is not done. 4. Check it on dark, light, and mid-grey. Halos shout louder on dark backgrounds; jaggies scream on light. If it passes on both, it is good. 5. Save a transparent PNG master. Transparency survives only in PNG — JPEG cannot hold it, so a JPEG export always flattens your cutout onto a filled background. Keep the PNG as the master and flatten only at export. Keep the untouched original beside it; every later version starts from the master, never from a flattened copy.
And if you can control the shoot, do the easiest thing of all: photograph glass against a contrasting background first. A mid-grey or deep blue behind glass gives any remover far more to work with. Remove the background, then composite the product onto its final background later.
The marketplace test your cutout must pass
For sellers, this is not cosmetic — it is commercial. Amazon sets the tightest bar: its Seller Central image guidance calls for the main image on a pure white background with at least 1,000 pixels on the longest side, the threshold that activates zoom. At that size, the product sits large in frame, so a halo along the edge has nowhere to hide. A sloppy cutout on a marketplace listing does not just look unprofessional; it makes the product look cheap, and customers judge a product by its photo in about three seconds.
The same standard applies to your own store, your catalogue, and your ads. One clean master cutout, checked properly, then exported per channel — that is the workflow that keeps a whole catalogue consistent.
When to hand it to a specialist
Some images are worth doing yourself. A solid product on a clean background takes minutes. But glass, sheer fabric, jewellery chains, fur, and white-on-white are the cases where hours disappear and the result still looks wrong. That is when a hand cut wins: a designer working with pen-tool paths and a refined alpha matte, checking the edge at 200 percent on dark and light backgrounds, and delivering a transparent PNG master that holds up at full zoom.
AiLogoFix's Background Removal service cuts out product and portrait photos by hand — precise pen-tool cutouts, never auto-cut — with transparent PNG and pure-white versions, natural shadows or reflections on request, and complex subjects welcome, including glass. If the product photo also carries a logo that needs attention — a label that must be redrawn, or a logo that needs cleaning up for the packaging — the Raster to Vector service rebuilds it as a clean vector, and the Logo Modify service fixes logo artwork before it goes to print.
FAQ
Why does my glass bottle look opaque after background removal?
The remover could not tell glass from background, so it filled the transparent areas with a flat tone. Glass needs alpha-matte handling — partial transparency per pixel — and often a manual rebuild of highlights and shadows afterwards. Automatic removal alone cannot invent realistic refraction.
What causes the white halo around my cutout?
Edge pixels blended with the old white background survived the cut. Contract the selection by 1–2 pixels before masking, use Remove White Matte or Defringe at 1–2 pixels, and always preview the cutout on a dark background, where halos show clearly.
Why do edges vanish on transparent products?
The edge pixels are semi-transparent, so a hard binary mask deletes them as "background." The fix is refining the boundary with an alpha matte or refine brush and keeping a tiny feather (0.3–0.7 pixels) instead of a hard edge.
Should I export as PNG or JPG?
PNG for the master — it is the only common format that holds transparency. JPG cannot store transparent pixels and flattens the cutout onto a filled background. Export JPG only for a specific destination that wants a solid background, like a marketplace main image.
Can I photograph glass so it cuts out more easily?
Yes. Shoot it against a contrasting background — mid-grey or deep blue works well — even if that is not the final background. The contrast gives the remover a clear edge to find, and you composite the product onto its real background afterwards.
Conclusion
Glass edges vanish because background removal is a guessing game, and glass is the hardest thing to guess about. A hard mask, a careless auto-cut, or a check done only on white will always show. The fix is unglamorous but reliable: an alpha matte for soft edges, inspection at 200 percent, a check on dark and light backgrounds, and a transparent PNG master. Do that, and a glass bottle stays a glass bottle — crisp, transparent, and ready to sell.
Glass, sheer fabric, or jewellery giving you trouble?
Our specialist team at AiLogoFix hand-cuts product photos with pixel-perfect edges — including glass and transparent products — and delivers transparent PNG masters with full commercial rights and refinements within your selected package and agreed brief. Send one sample image and see the difference a hand cut makes.
Get clean background removal →
Questions first? Message the team — we reply fast.