
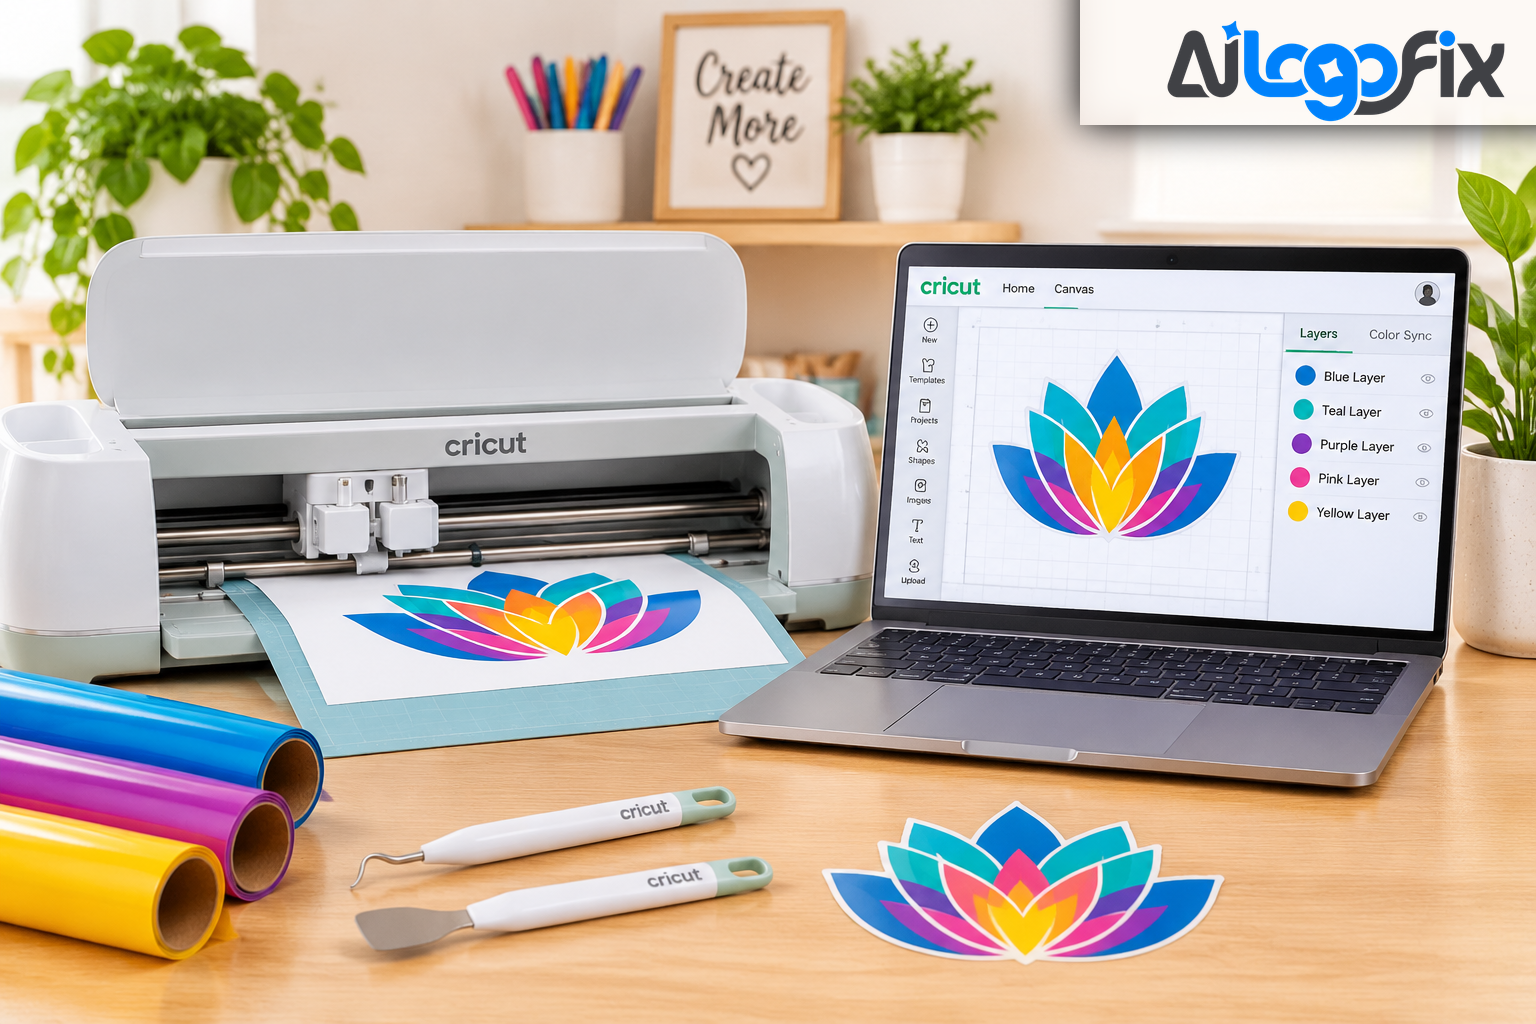
You bought or downloaded a beautiful SVG, uploaded it to Cricut Design Space, and… it is not ready to cut. The layers are scattered across the mat, the text cannot be changed, a score line is about to be cut straight through your card, and the whole design came in at the wrong size. This is normal. Most SVG cut files need preparation before they cut the way you expect — and the preparation is the same ten steps almost every time.
SVG files are vector-based, which means every shape arrives as its own layer that you can select, move, recolour, hide, or delete. That is the whole advantage of SVG over PNG for cutting: a machine can follow real paths instead of guessing at pixels. But it also means you have to understand the layers, the tools, and the order of operations. These ten tips cover exactly that.
Tip 1: Start with a real SVG, not a picture in disguise
Before you upload anything, check that the file is actually a vector. Some downloads labelled SVG are really a PNG or JPG placed inside an SVG wrapper — the file ends in .svg, but the artwork inside is still pixels, and a cutting machine cannot follow pixels. Open the file in a viewer or a vector editor and click a shape: if you can select individual paths, it is a real SVG. If the whole design selects as one flat picture, it was never a vector.
If your artwork only exists as a PNG or JPG, it needs to be redrawn as a vector first. AiLogoFix's raster to vector service hand-redraws pixel artwork as clean, closed vector paths in AI, EPS, SVG, and PDF from $10 — the exact kind of file a cutter can follow. And if your design started as a hand drawing, the sketch to vector service turns it into the same production-ready vector.
Tip 2: Unzip the file before you upload it
SVG files usually arrive inside a ZIP folder, and Cricut Design Space cannot read a zipped file. Extract the folder first, find the file ending in .svg, and upload that one — not the PNG or JPG versions that often come in the same download. Only the SVG will cut correctly.
To upload: open Design Space, start a new project, click Upload on the left toolbar, choose Upload Image, browse to your .svg file, and save it. It will appear in your upload library, ready to insert onto the canvas.
Tip 3: Ungroup and read the Layers panel
Every SVG arrives with at least one layer, usually more. The Layers panel on the right side of the screen shows them all, and it is the single most important panel in Design Space. Click a layer and it highlights on the canvas; click the eye icon and the layer hides; click a layer and press Delete and that piece is gone.
The first thing to do with any new SVG is ungroup it. Select the design, click Ungroup, and look at what you actually have: which pieces are separate, which colours belong to which layer, and whether anything is hidden or duplicated. Most SVG files are not ready to cut as soon as they are uploaded — they need this inspection first.
Tip 4: Attach your layout, or Design Space will rearrange it
This is the tip that saves the most ruined mats. By default, Design Space arranges each layer on the cutting mat to save material — which means your carefully placed design gets scattered. Attach locks elements in their positions relative to each other, so they cut exactly as arranged on the canvas.
The rule is simple: when the layout matters, select everything and click Attach before you cut. Grouping alone does not do this — Group only moves pieces together on the canvas; Attach is what holds them in place on the mat. If your words and shapes keep arriving in the wrong places, a missing Attach is almost always the reason.
Tip 5: Weld pieces that must cut as one
Weld merges overlapping shapes into a single cut path. Use it when two shapes overlap and you want the overlap gone — for example, joining script letters into one connected word, or merging a shape into a background so the cutter treats them as one piece instead of two overlapping cuts.
The difference from Attach matters: Attach keeps separate pieces in position; Weld fuses them into one shape. Weld is permanent in the sense that the pieces cannot be separated again afterwards, so weld a copy if you think you might change your mind.
Tip 6: Use Contour to hide parts you do not want
Contour hides individual pieces inside a single layer — the fastest way to remove an unwanted graphic, a word, or a detail without deleting the whole layer. Select the layer, open Contour at the bottom of the Layers panel, and click each piece you want to hide.
Two things to remember. First, Contour only works on one layer at a time — if the button is greyed out, you probably have more than one layer selected. Second, when you contour out text, remember to hide the centres of the letters too — the holes in letters such as "a", "e", and "o" are separate pieces, and leaving them behind leaves floating dots on your cut.
Tip 7: Slice to cut shapes apart or swap text
Slice cuts one shape out of another, and it is the tool for the jobs Contour cannot do. Want to replace the wording built into a design? Contour out the old letters, type your new word, and slice it into place. Want to cut a shape in half, or punch a hole through a design? Slice does that too.
Slice has one strict rule: it only works on exactly two selected shapes. If you have more than two pieces, weld the pieces that belong together first, or hide the ones you are not working with. Trying to slice three shapes at once is the most common Slice error, and the fix is always to reduce the selection to two.
Tip 8: Change score lines to Score, or they will cut
Many card and box SVGs include fold lines — and by default, every layer arrives set to Basic Cut. If you send a fold line to the machine as a cut, it will cut straight through your card.
Score lines are easy to spot in the Layers panel: they have no colour and no thumbnail, because they are simply lines. Select that layer and change its operation in the top menu from Basic Cut to Score. Do the same for any draw or write lines — change the operation to Draw or Foil instead of Cut. Then attach the score layer to the piece it belongs to, so the machine scores it in the right place.
Tip 9: Resize with the size box, not by eye
Cricut Design Space works in real-world measurements, so set your design dimensions accurately before you cut. Dragging a corner handle is fine for a rough size, but for anything that must fit a mug, a shirt, or an envelope, type the exact width or height into the size box at the top of the screen. The design will scale without losing quality — that is the advantage of vector — but only if you tell it the right size.
Also check the size the file arrived at. Some SVGs upload at unexpected dimensions, and cutting a 12-inch design you expected to be 4 inches wastes a whole sheet of vinyl. A ten-second size check before every cut is the cheapest insurance in crafting.
Tip 10: Simplify, test, and flatten for Print then Cut
Big, complex SVGs with hundreds of layers and thousands of nodes load slowly and cut slowly — and the cutter follows every node, so a messy file cuts a messy edge. If a design loads slowly, open it in Inkscape or Illustrator first and simplify it: remove hidden or unused layers, reduce unnecessary anchor points with a simplify command, and delete embedded raster images or effects that will not translate to a cut.
Then test before committing. Cut the design once on cheap material or scrap vinyl before using your good stock. And if the project is Print then Cut rather than a plain cut, remember the final step: make your changes, then Flatten the image, and it behaves like a PNG for printing while keeping the cut outline.
Before you cut: a five-second checklist
- The file is a real SVG with selectable paths, not a picture in a wrapper.
- The design is unzipped, uploaded, and ungrouped, and you have read the Layers panel.
- Unwanted pieces are hidden with Contour or deleted, and score lines are set to Score.
- Everything that must stay in place is Attached; pieces that must fuse are Welded.
- The size is typed into the size box, not guessed by dragging.
- You have done a test cut on scrap material.
Run through that list and most Cricut frustrations disappear before they happen.
FAQ
Why did my SVG upload as one solid colour?
The layers are probably still grouped, or the design arrived with all pieces on a single layer. Ungroup the design and check the Layers panel — each colour should be its own layer. If the whole design is genuinely one layer, recolour it piece by piece in a vector editor before uploading, or ask for a layered version.
Why did Design Space rearrange my design on the mat?
Because the pieces were grouped but not attached. Grouping only affects the canvas; Attach is what locks positions for cutting. Select everything and click Attach before you press Make It.
Can I change the text in a bought SVG?
Only if the text is a separate layer you can contour out. Contour the old letters away — including the letter centres — type your new word, and slice or attach it into place. If the text is baked into a single solid layer, it cannot be edited in Design Space and needs to be rebuilt in a vector editor.
Why won't my SVG upload at all?
Check three things: the file is unzipped, the extension is genuinely .svg, and the file is not corrupted. Some downloads include a fake SVG that is really a PNG. If it still fails, open the file in Inkscape, save a fresh copy, and try again.
What is the difference between Attach and Weld?
Attach keeps separate pieces in their positions on the mat without merging them. Weld fuses overlapping shapes into a single cut path. Use Attach for layout, Weld for shapes that must cut as one piece.
Conclusion
Editing SVGs in Cricut Design Space is not complicated once the order of operations is clear: check the file is real, unzip it, ungroup it, read the layers, attach the layout, weld what must fuse, contour what must go, slice what must change, set score lines to Score, size it exactly, and test before the good material. Ten steps, five minutes, and the difference between a clean cut and a wasted sheet.
Need a cut-ready SVG that just works?
Your designs deserve clean vector files — closed paths, sensible layers, no hidden junk — so they upload, edit, and cut exactly as expected. AiLogoFix's specialist team hand-redraws logos, sketches, and images as production-ready SVGs in AI, EPS, SVG, and PDF, ready for Cricut, Silhouette, laser, and vinyl work. Every order includes refinements within your selected package and agreed brief, and full commercial rights.
Not sure your file will cut cleanly? Message the team — send your file and we will tell you exactly what it needs, for free.