
You bought the cutting machine. You have the vinyl, the weeding tools, and a logo you love. You upload it to Cricut Design Space — and what comes back is a pixelated mess, a single uncuttable blob, or an error. Or your Silhouette Studio refuses to open the file at all.
In This Guide
- Why Cutting Machines Only Understand Vectors
- Vector Logo for Vinyl Cutting: The Right File for Each Machine
- What Makes a Logo “Cut-Ready”
- Why Your SVG Fails in Design Space or Silhouette Studio
- PNG to SVG: What Actually Works
- Mistakes to Avoid
- Cut-Ready Checklist
- Frequently Asked Questions
- The Bottom Line
- Vector Logo for Vinyl Cutting: Complete FAQ
- 7 Vector Logo for Vinyl Cutting Mistakes to Avoid
- Pro Tips for Perfect Vector Logo for Vinyl Cutting Results
- When to Hire a Designer for Vector Logo for Vinyl Cutting Files
- Vector Logo for Vinyl Cutting Glossary: 10 Key Terms
This is one of the most common frustrations in the craft and decal world, and it almost always comes down to the file — not the machine.
The short answer: vinyl cutting machines do not print pixels; their blades follow vector paths. Cricut needs an SVG, Silhouette needs DXF (basic edition) or SVG (Designer Edition and above). A PNG or JPG cannot be cut, and even a real SVG fails if its text is not outlined, its paths are not closed, or it hides gradients and embedded images. In short, a vector logo for vinyl cutting has to match the machine and be built cut-ready.
This guide explains exactly what file each machine needs, what makes a logo truly “cut-ready,” and how to fix a logo that is not.
Why Cutting Machines Only Understand Vectors
A printer sprays dots of ink. A vinyl cutter drags a tiny blade along mathematical paths — the outlines of your shapes. It needs to know precisely where each line starts, curves, and ends.
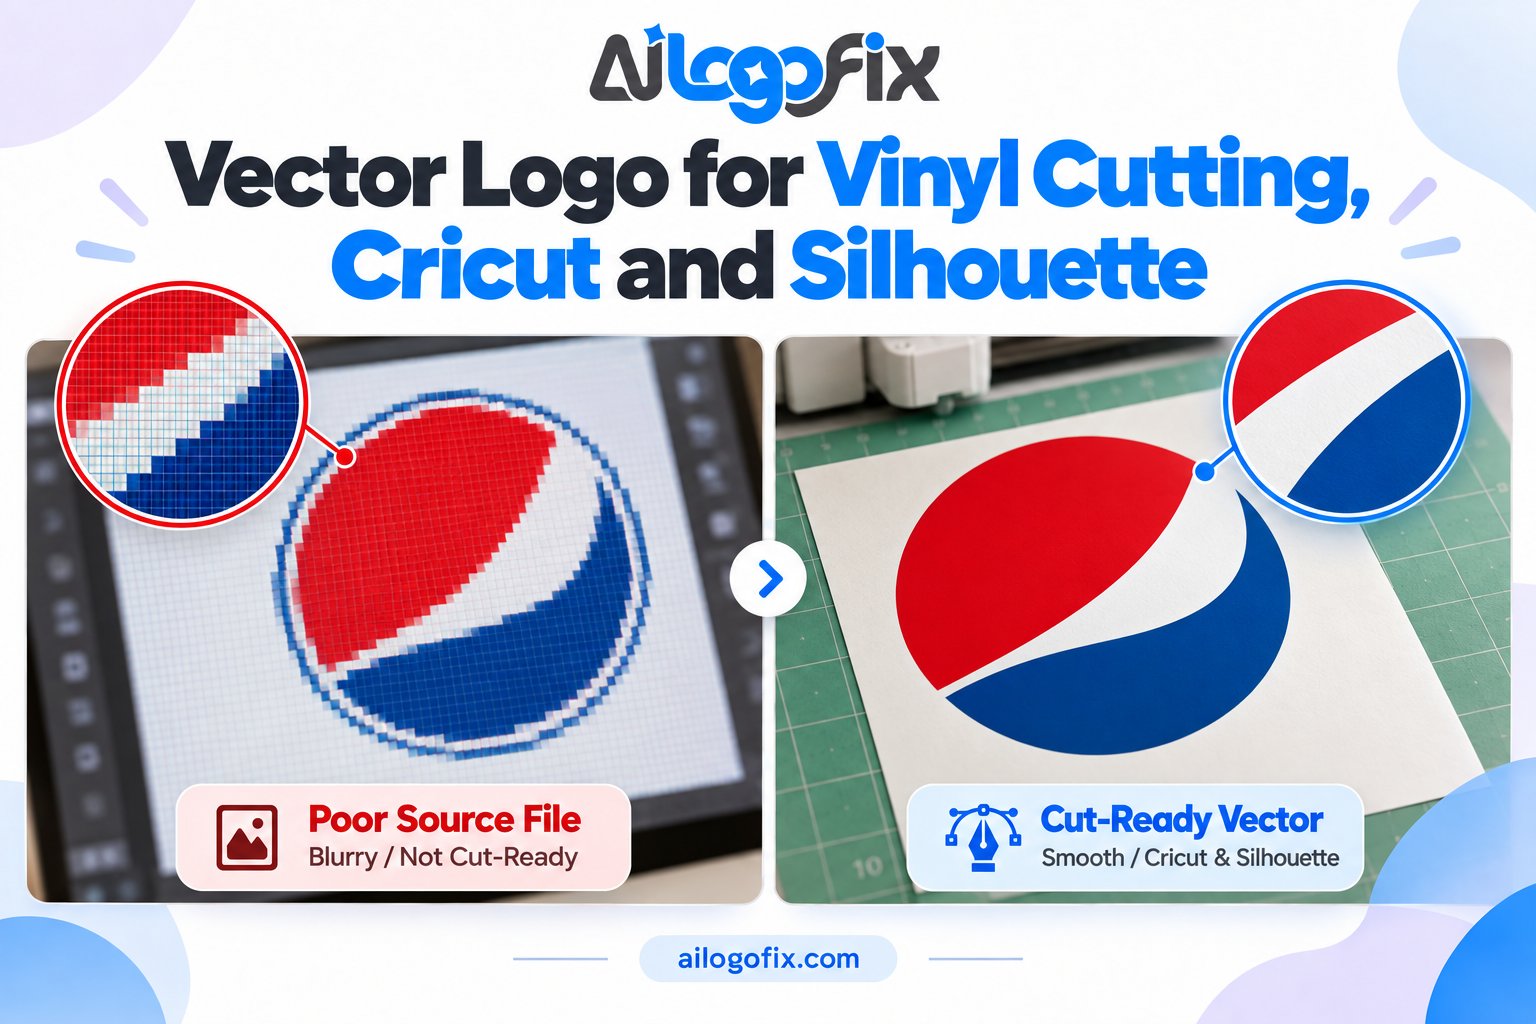
That information only exists in vector files. A PNG or JPG is just a grid of colored squares; there are no paths for the blade to follow. When software tries to guess paths from pixels (auto-tracing), the blade follows those guesses — wobbles, gaps, and all. If you are new to the vector concept itself, our What Is a Vector File? guide explains it simply.
Vector Logo for Vinyl Cutting: The Right File for Each Machine
| Machine / software | Use this file | Notes |
|---|---|---|
| Cricut (Design Space) | SVG | Layered SVGs can be separated into layers after upload; keep uploads under ~5,000 paths |
| Silhouette (Basic Edition) | DXF | The free Basic Edition cannot open SVG files at all |
| Silhouette (Designer Edition+) | SVG | Designer Edition opens SVG; Business Edition can also save SVG |
| Laser cutters / CNC | SVG or AI | Same path rules apply — closed shapes, no raster images |
What Makes a Logo “Cut-Ready”
Having an SVG is only half the battle. Cutting is physical — the blade, the vinyl, and your weeding patience all have limits. A truly cut-ready logo has:
- Closed paths. Every shape is a complete outline. Open paths cut as stray lines instead of shapes.
- Text converted to outlines. Live text depends on fonts the machine does not have. Outlined text is pure paths and always works.
- Solid colors only. Gradients, shadows, and semi-transparency cannot be cut — cutting is binary: blade down or blade up.
- No embedded raster images. A PNG hiding inside an SVG wrapper will not cut. Every element must be real vector.
- Sensible complexity. Thousands of tiny nodes slow machines down and produce jagged cuts. Clean, simplified paths cut faster and weeded easier.
- Weed-friendly sizing. Extremely thin strokes and tiny detached pieces (“islands”) either will not cut cleanly or will lift off with the waste vinyl. Small text often needs thickening.
Why Your SVG Fails in Design Space or Silhouette Studio
“It uploaded as one flat blob.” The SVG likely contains an embedded raster image or flattened artwork with no real paths. It needs proper vector content, not a PNG in disguise.
“My text disappeared / changed font.” The text was never converted to outlines. The software substituted a default font — or dropped the text entirely.
“Silhouette won’t open my SVG.” You are probably on the free Basic Edition, which does not support SVG. You need DXF for Basic, or upgrade to Designer Edition for SVG.
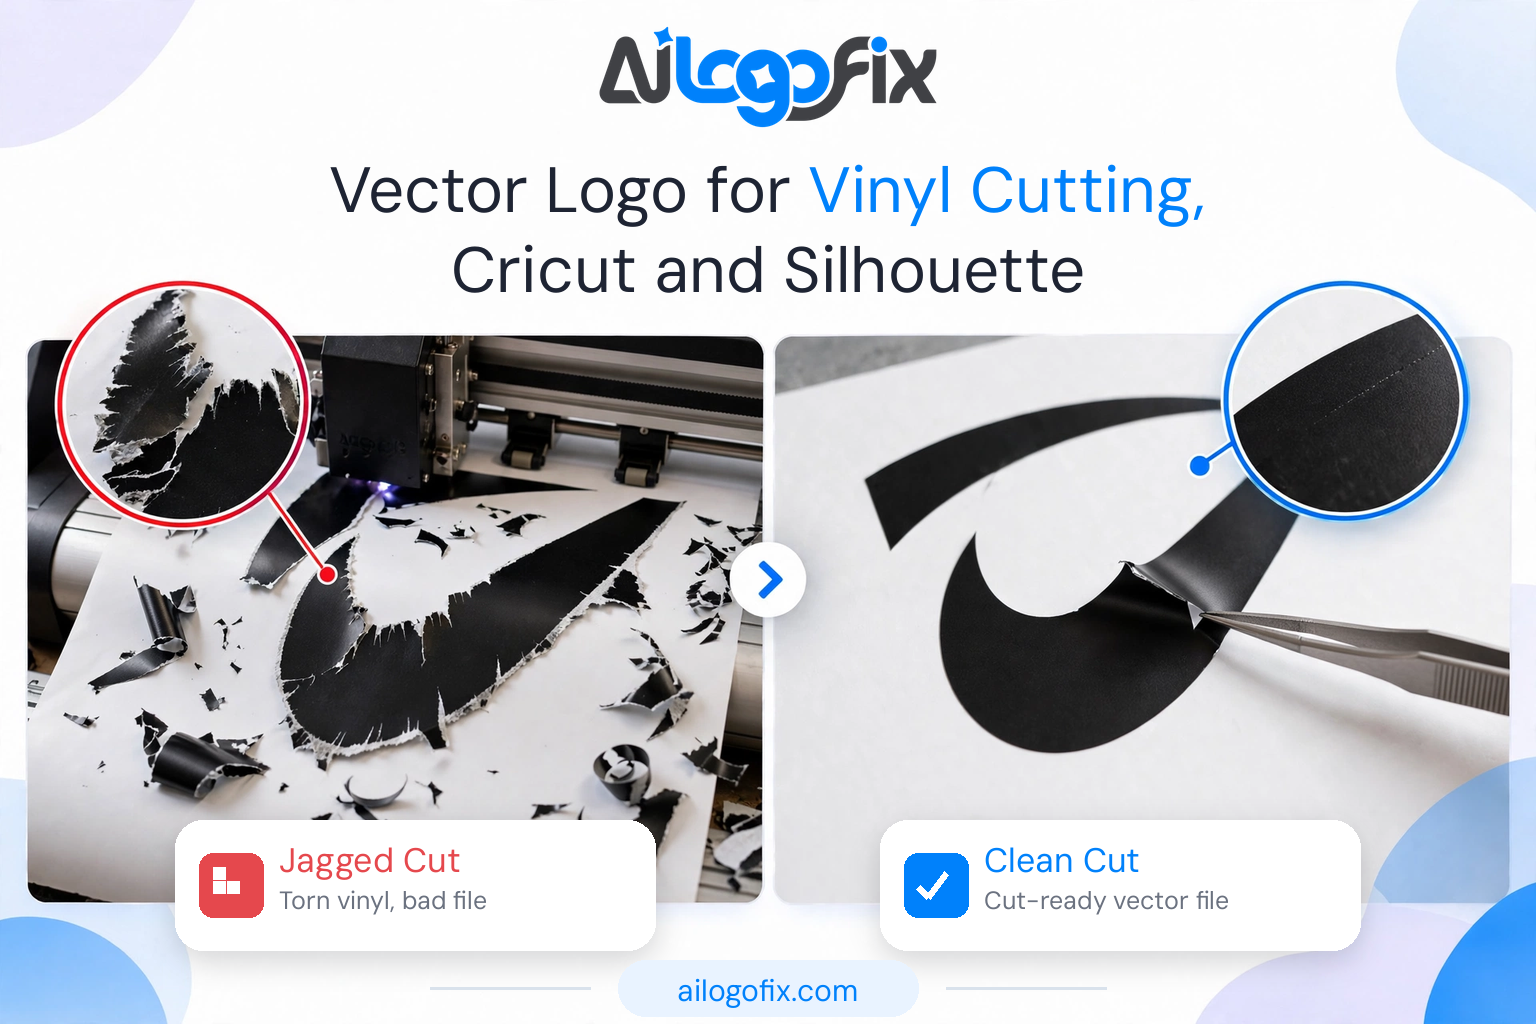
“The cut looks jagged.” Too many nodes from a rough auto-trace. The paths need simplifying and smoothing — a classic symptom covered in our manual tracing vs auto trace comparison.
“Tiny pieces keep falling out.” Details below the machine’s practical cutting size. Small elements need to be enlarged, thickened, or removed for the vinyl version.
PNG to SVG: What Actually Works
If your logo is currently a PNG or JPG, you have two routes. Auto-tracing (Illustrator Image Trace, Inkscape, online converters) is fast and sometimes fine for simple one-color marks — but it bakes in every flaw of the source: wobbly edges become wobbly cut paths.
For a logo you will cut repeatedly — decals you sell, shirts you press, signs for clients — a manual rebuild is worth it. Clean paths drawn by hand mean smooth cuts, easy weeding, and a file that behaves identically on Cricut, Silhouette, and laser alike. One good master, every machine.
Mistakes to Avoid
- Uploading a PNG and hitting “cut.” Design Space will try to work with it, but you are cutting a guess, not your logo.
- Forgetting to outline text. The number-one cause of “my design changed after upload.”
- Keeping gradients and shadows in a design meant for vinyl. Convert to solid spot colors first.
- Using ultra-fine detail at small decal sizes. What looks delicate on screen becomes unweedable confetti.
- Downloading random “free SVG” files for client work — many are badly traced, and trademarked artwork brings legal trouble.
Cut-Ready Checklist
- True vector file: SVG for Cricut, DXF/SVG for Silhouette (right edition)
- All text converted to outlines
- All paths closed, no stray lines
- Solid colors only — no gradients, shadows, or transparency
- No embedded raster images anywhere in the file
- Nodes simplified; tiny details thickened or removed
- Test cut at the real size before a full run
Need a Logo That Actually Cuts?
Send us the PNG, JPG, or rough file you have now. Our specialist team manually rebuilds it into clean, cut-ready vector artwork — text outlined, paths closed, complexity tamed — and delivers SVG, DXF, and EPS so it works in Cricut, Silhouette, and beyond.
Message Us Tell us your machine and material — message the team and we will prepare the exact file you need.
Frequently Asked Questions
Can Cricut cut a PNG file?
Not truly. Design Space can attempt to work with a PNG, but the machine needs vector paths to guide the blade. For clean, reliable cuts, convert the artwork to a proper SVG first.
Why won’t my SVG open in Silhouette Studio?
The free Basic Edition of Silhouette Studio does not support SVG files. Use DXF format with Basic, or upgrade to Designer Edition (opens SVG) or Business Edition (opens and saves SVG).
Do I need DXF or SVG for my cutting machine?
Cricut: SVG. Silhouette Basic: DXF. Silhouette Designer Edition and above: SVG. Laser cutters: usually SVG or AI. When in doubt, get both SVG and DXF — a proper vector rebuild can export either in seconds.
Why did my text change after uploading to Design Space?
The text was still live (font-dependent) instead of converted to outlines. Whoever prepares the file must convert all text to paths/outlines before export, so the design looks identical on any computer.
Can AiLogoFix convert my logo for Cricut or Silhouette?
Yes. We manually rebuild logos into clean cut-ready vectors — outlined text, closed paths, simplified nodes — and deliver SVG, DXF, and EPS formats for every major cutting machine.
What about multi-color or layered vinyl designs?
Each color becomes its own layer of paths in the SVG, which Design Space can separate after upload. Gradients still need converting to solid colors, since each vinyl color is a separate physical cut.
The Bottom Line
A proper vector logo for vinyl cutting starts with a true vector SVG (or DXF for Silhouette Basic) — then make sure the text is outlined, the paths are clean, and test-cut before committing vinyl.
If your logo is currently a PNG, a JPG, or an SVG that misbehaves, our Raster to Vector Service will rebuild it properly. Message us with your file and your machine — we will handle the rest.
Vector Logo for Vinyl Cutting: Complete FAQ
Everything crafters and small shops ask about vector logo for vinyl cutting setup, answered in plain language. Whether you run a Cricut, Silhouette, or a full-size plotter, getting your vector logo for vinyl cutting file right is the difference between a clean decal and a weeding nightmare.
What file format is best for vector logo for vinyl cutting?
SVG is the universal choice for vector logo for vinyl cutting because Cricut Design Space, Silhouette Studio, and most plotter software import it natively. DXF also works and is sometimes required for older machines. AI and EPS are fine if your software opens them, but SVG keeps the workflow simple.
Whatever format you choose, the underlying artwork must be true vector paths, not a PNG renamed with an SVG extension. A real vector logo for vinyl cutting file scales cleanly and lets the blade follow exact curves. Test yours by zooming to 800 percent: sharp edges mean vector, pixels mean trouble.
Can I use a PNG for vector logo for vinyl cutting?
A PNG alone cannot drive a cutter properly. Cutters need paths, and a PNG only has pixels. Some software will auto-trace your PNG on import, but the result is the usual auto-trace mess: jagged edges and hundreds of unnecessary nodes that make weeding painful.
The right move is converting your PNG to a true vector logo for vinyl cutting file before you ever open your cutting software. Manual redrawing gives the cleanest paths with the fewest nodes. Your blade, your weeding tweezers, and your patience will all thank you.
Why does my vector logo for vinyl cutting fail to import?
The most common cause is a file that is not actually a vector. Many free converters wrap a PNG inside an SVG container, which looks like a vector logo for vinyl cutting file but contains zero cut paths. Design Space and Silhouette Studio reject these or import them as uncuttable images.
Other culprits include text that was never converted to outlines, which imports as missing-font errors, and files saved with incompatible SVG profiles. A proper vector logo for vinyl cutting export uses plain paths, outlined text, and no embedded raster images. When in doubt, open the file in a free viewer and check for real paths.
How small can I cut a vector logo for vinyl cutting designs?
It depends on line weight. A well-built vector logo for vinyl cutting file with bold shapes can cut cleanly down to about half an inch tall. Fine detail, thin lines under 1mm, and tiny text will not weed reliably at small sizes no matter how good the file is.
If your logo must work tiny, ask your designer for a simplified vector logo for vinyl cutting variant with thickened lines and merged details. Professionals routinely create a small-size version alongside the full logo. Cutting a detailed logo at keychain size without simplification is asking for frustration.
Do I need to mirror my vector logo for vinyl cutting with heat transfer vinyl?
Yes. Heat transfer vinyl (HTV) is cut in reverse on the carrier side, then flipped onto the garment. Forgetting to mirror is the classic beginner error, and your vector logo for vinyl cutting software usually has a mirror toggle right in the cut settings.
Adhesive vinyl for decals and signs is cut normally, face up, with no mirroring. Double-check which material you loaded before every vector logo for vinyl cutting job. One wrong cut wastes vinyl, and specialty vinyl is not cheap.
What is weeding, and how does my file affect it?
Weeding is removing the excess vinyl around your design, and it is where file quality shows. A clean vector logo for vinyl cutting file with smooth paths weeds in seconds. A node-heavy auto-trace weeds like pulling teeth, with tiny bits tearing and lifting.
Design choices matter too: floating interior pieces, hairline gaps, and ultra-fine serifs all complicate weeding. When preparing a vector logo for vinyl cutting project, simplify aggressively. Bold, connected shapes are a weeders best friend.
7 Vector Logo for Vinyl Cutting Mistakes to Avoid
These seven vector logo for vinyl cutting mistakes waste more vinyl than anything else. Fix them once and every vector logo for vinyl cutting project after gets easier.
1. Cutting a fake vector. A PNG renamed as SVG is still a PNG. Your cutter needs real paths, so verify every vector logo for vinyl cutting file by zooming deep and checking for crisp edges. Fake vectors are the number one cause of failed imports.
2. Leaving text as text. Live text depends on fonts your cutter software may not have. Convert all text to outlines before export so your vector logo for vinyl cutting file carries the letterforms as pure paths. Outlined text cuts identically on every machine.
3. Ignoring line weight. Hairline strokes under 1mm will not cut or weed reliably. Thicken thin elements when building a vector logo for vinyl cutting design, or create a simplified small-size variant. What looks elegant on screen can be uncuttable in vinyl.
4. Too many nodes. Auto-traced files pack thousands of anchor points into simple curves, which makes blades stutter and weeding miserable. Clean vector logo for vinyl cutting artwork uses minimal nodes. If your file feels sluggish, it probably needs redrawing.
5. Forgetting to mirror HTV. Heat transfer vinyl cuts in reverse. Forgetting this step on a vector logo for vinyl cutting job means pressing a backwards logo onto an expensive blank. Build a pre-cut checklist and mirror becomes automatic.
6. Skipping the test cut. Every vinyl brand cuts differently. A 30-second test cut on scrap saves ruined vector logo for vinyl cutting projects. Check blade depth, pressure, and speed before committing to the real material.
7. Designing at the wrong scale. Build your vector logo for vinyl cutting file at the actual cut size when possible. Scaling down a detailed logo after the fact reveals uncuttable micro-details. Design small from the start for small applications.
Pro Tips for Perfect Vector Logo for Vinyl Cutting Results
The secret to flawless vector logo for vinyl cutting work is simplification. Before cutting, merge overlapping shapes, weld connected letters, and remove hidden layers. Every unnecessary path is a chance for the blade to hesitate. A tidy vector logo for vinyl cutting file with welded, simplified shapes cuts faster and weeds cleaner than a complex one.
Match your blade and settings to the material, not just the design. Standard adhesive vinyl, HTV, and glitter vinyl all want different pressure and speed. Keep a notebook of settings that worked; experienced vector logo for vinyl cutting crafters swear by their cheat sheets. The vector graphics format gives you perfect paths, but the physical cut still depends on dialed-in machine settings.
Finally, think in layers for multi-color designs. Separate each color of your vector logo for vinyl cutting artwork onto its own layer and cut them one at a time. Registration marks help align layered HTV perfectly. The W3C SVG specification supports layering natively, so your file organization carries straight into the cutting software.
When to Hire a Designer for Vector Logo for Vinyl Cutting Files
DIY conversion is fine for simple shapes, but hire a professional when your logo has text, fine detail, or must cut at multiple sizes. A designer builds a true vector logo for vinyl cutting file with clean nodes, outlined text, and welded shapes, so every cut works the first time. The cost of one ruined roll of specialty vinyl often exceeds the design fee.
Bring in help when your imports keep failing or your weeding takes longer than the cutting. These are classic symptoms of a bad vector logo for vinyl cutting source file. Our raster to vector service redraws logos as clean, cut-ready vectors with minimal nodes and properly outlined text, ready for Cricut, Silhouette, and commercial plotters.
If your business depends on consistent decals, shirts, or signage, stop fighting bad files. Message our team with your logo and tell us your machine and material. We will deliver a vector logo for vinyl cutting file that cuts cleanly the first time, plus a simplified small-size variant if you need one.
Vector Logo for Vinyl Cutting Glossary: 10 Key Terms
Blade offset: The distance between the blade tip and its rotation center. Correct offset keeps corners sharp in any vector logo for vinyl cutting job.
Carrier sheet: The backing that holds HTV together during cutting. You cut with the carrier side down and mirror the design.
DXF: A CAD-born vector format many cutters accept. A reliable fallback when SVG import acts up.
HTV: Heat transfer vinyl, pressed onto fabric with heat. Always mirror a vector logo for vinyl cutting design for HTV.
Node: An anchor point on a vector path. Fewer nodes mean smoother cuts and easier weeding.
Registration marks: Alignment guides for multi-layer vinyl work. They keep layered colors perfectly positioned.
SVG: The standard web vector format and the best choice for vector logo for vinyl cutting workflows.
Test cut: A small trial cut on scrap material. Non-negotiable before any real vector logo for vinyl cutting run.
Weeding: Removing excess vinyl from around the design. Clean paths make weeding fast; messy paths make it miserable.
Weld: Merging overlapping shapes into one path. Welding text and shapes prevents the cutter from slicing interior lines.