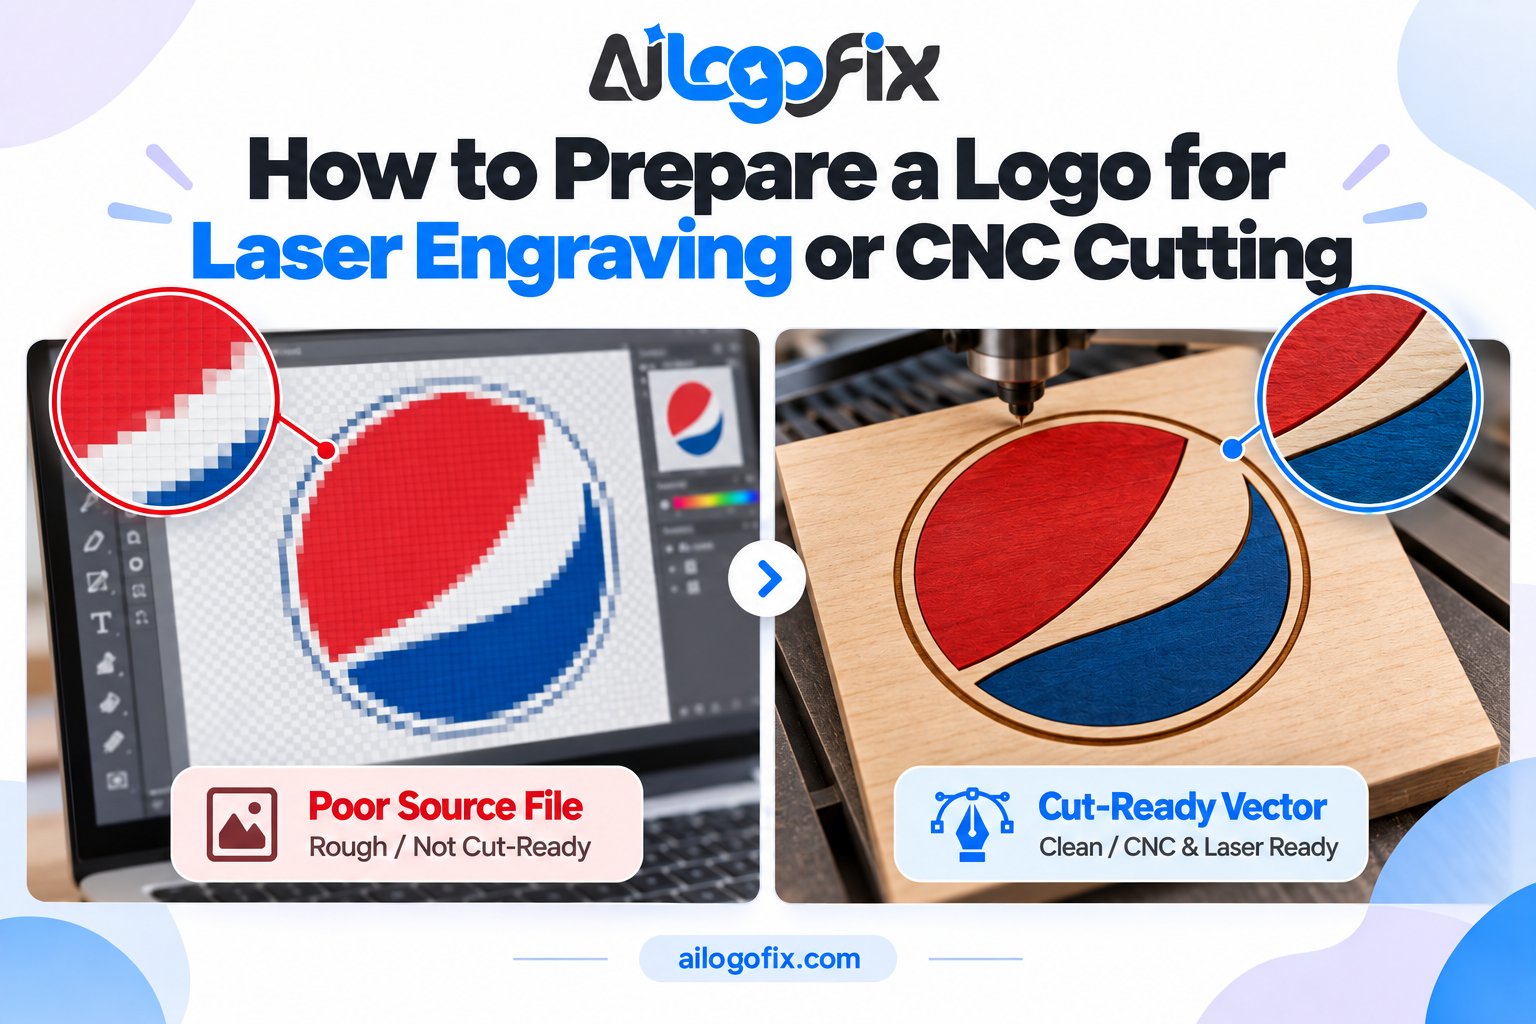
You found the perfect gift, sign, or product to engrave. You send your logo to the engraving shop — and they reply asking for a “vector file with outlined text.” You send the PNG from your website instead. What comes back is either a rejection email or a burnt, blobby mess on expensive material.
In This Guide
- How a Laser Reads Your Logo File
- Logo for Laser Engraving: The File Preparation Checklist
- Line Weights and Sizes That Actually Work
- CNC Cutting: The Extra Rules
- Mistakes That Ruin Engravings
- What If You Only Have a PNG?
- Frequently Asked Questions
- The Bottom Line
- Logo for Laser Engraving: Complete FAQ
- 7 Logo for Laser Engraving Mistakes That Ruin Jobs
- Pro Tips for Flawless Logo for Laser Engraving Results
- When to Hire a Designer for Logo for Laser Engraving Files
- Logo for Laser Engraving Glossary: 10 Key Terms
Laser engravers and CNC machines are unforgiving. They follow your file with literal precision, which means every flaw in the artwork becomes a flaw in the finished piece.
The short answer: preparing a logo for laser engraving or CNC cutting means delivering true vector artwork (SVG, AI, DXF, or EPS) with all text converted to outlines, all paths closed, correct line weights, artwork at 1:1 scale, and cut/engrave operations separated by color. Get those five things right and the machine does the rest.
This guide walks through exactly how to prepare a logo for laser engraving, the mistakes that ruin engravings, and what to do when all you have is a PNG.
How a Laser Reads Your Logo File
A laser does two different jobs, and your file tells it which is which. Raster engraving burns an area — the laser head sweeps back and forth filling shapes, like a printer. Vector cutting and scoring follows paths — the laser traces your outlines to cut through or score the material.
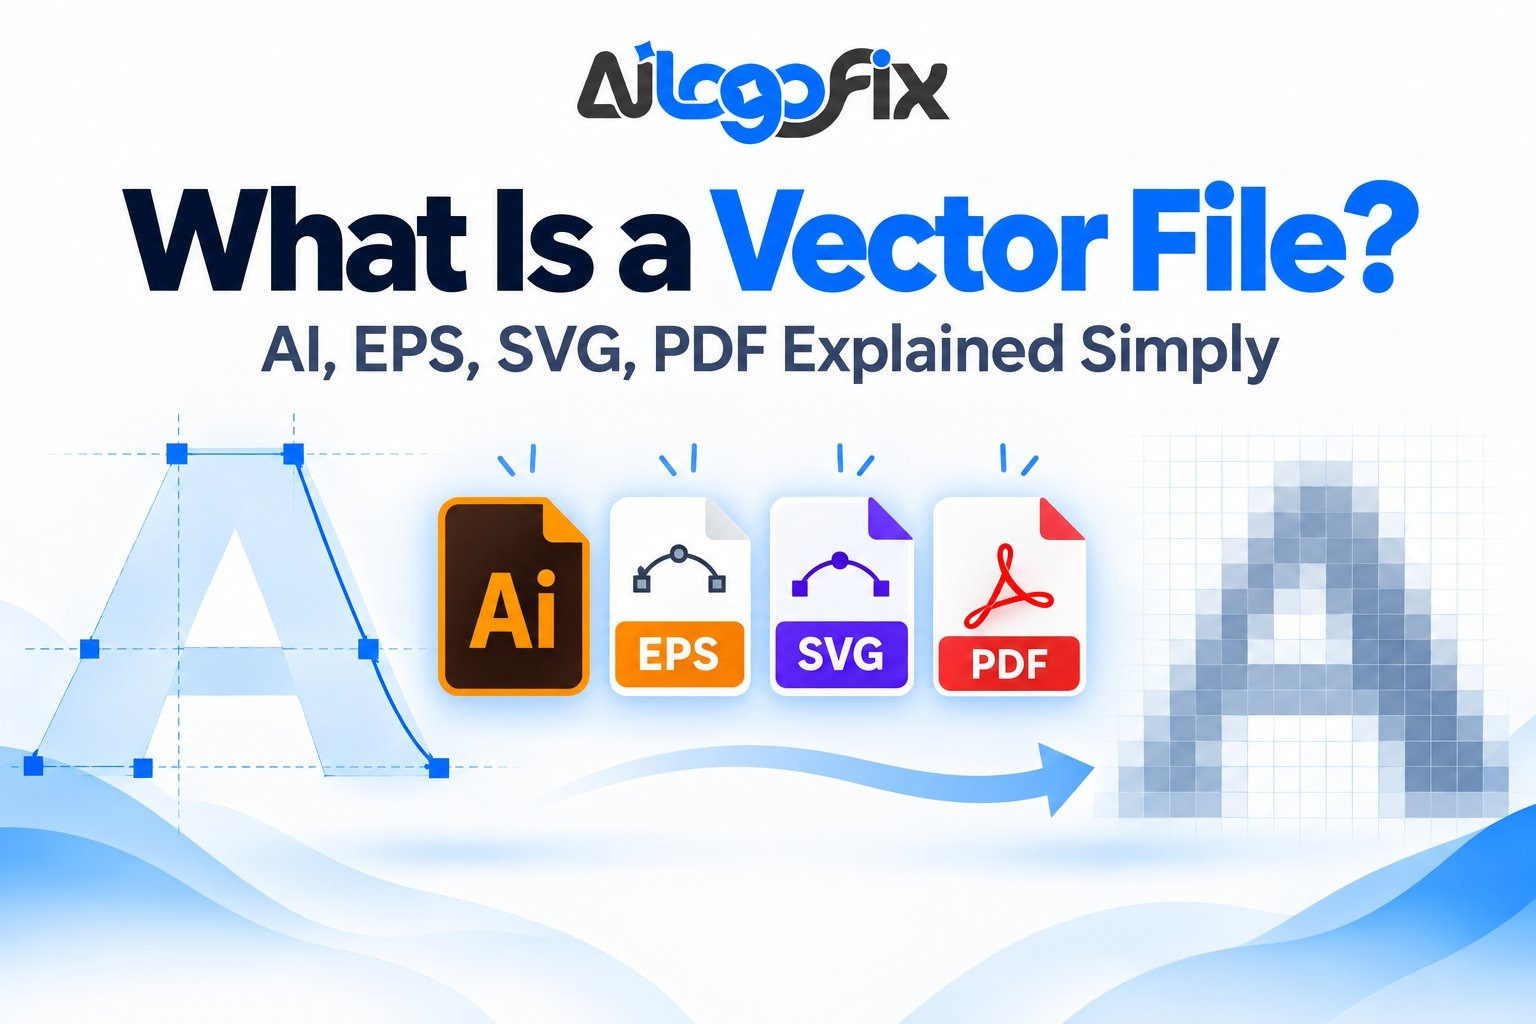
The machine decides based on your artwork: filled shapes get engraved, thin strokes get cut or scored. That is why the file structure matters so much for a logo for laser engraving — a logo drawn “the same but differently” can produce a completely different physical result. If the vector concept is new to you, start with What Is a Vector File?
Logo for Laser Engraving: The File Preparation Checklist
Follow these steps in order before sending any logo to an engraver or CNC shop:
1. Start with the best source available. An original vector AI or EPS file is ideal. If you only have a PNG or JPG, have it professionally vectorized first — auto-traced wobbles become wobbly cuts. Our manual vs auto trace comparison shows why this step matters.
2. Convert all text to outlines. No laser software reads live text. Every letter must become a vector shape, or the shop’s computer will substitute a default font — usually Arial — and your branding is gone. In Illustrator this is Type → Create Outlines; the free editor Inkscape does the same via Path → Object to Path.
3. Close all paths. Every shape must be a complete outline. Open paths leave gaps in cuts, and parts will not separate cleanly from the sheet.
4. Remove overlapping and duplicate lines. Two lines on top of each other get cut twice — the laser dwells, the edge chars, and fine detail burns away. One clean line per contour.
5. Set line weights correctly. Cutting paths should be hairline (around 0.001 inch / 0.025 mm). Engraving elements need visibly weighted strokes appropriate to the detail level.
6. Color-code the operations. The widespread convention is red for cutting, blue for vector scoring/engraving, and black for raster engraving — but conventions vary by shop and software, so always confirm before you finalize.
7. Work at 1:1 scale in millimeters. Size the artwork to the exact final dimensions. Millimeter units avoid the scaling errors that inch-based files sometimes cause.
8. Respect minimum sizes. Details smaller than about 1 mm tend to vanish or burn. Tiny text and hairline flourishes that look elegant on screen become mush under the beam — simplify or enlarge them.
9. Export what the shop asks for. DXF, SVG, and AI cover nearly every laser and CNC workflow. When in doubt, send all three and let the operator pick.
Line Weights and Sizes That Actually Work
Use these specifications as a starting point whenever you prepare a logo for laser engraving:
| Operation | Line specification | What happens if wrong |
|---|---|---|
| Vector cutting | Hairline stroke (~0.001 in / 0.025 mm), no fill | Thicker lines may engrave instead of cutting cleanly through |
| Vector scoring | Thin stroke in the “score” color | Wrong color assignment cuts instead of scoring |
| Raster engraving | Solid fills, no stroke dependency | Open or hairline-only shapes engrave as faint ghosts |
| Small text | Keep above ~1 mm cap height; bold weights preferred | Fine serifs and thin strokes burn away or fill in |
CNC Cutting: The Extra Rules
If your logo for laser engraving is headed for a CNC router rather than a laser, every rule in the checklist above still applies — with a few extra physical constraints on top. The cutting bit has real width (kerf), so fine details need compensation or they disappear. Disconnected “island” pieces — like the inside of an O or A — fall out the moment they are cut, which is why stencil-style designs need bridges holding everything together. DXF is the most universally accepted format for CNC, and tabs or bridges should be designed in rather than hoped for.
Mistakes That Ruin Engravings
Steer clear of these when preparing a logo for laser engraving:
- Sending a PNG and hoping. Raster engraving from a low-res PNG gives soft, dithered results — and vector cutting is impossible without paths.
- Leaving text live. The classic failure: beautiful script on your screen, Arial on the finished piece.
- Hidden duplicate lines from sloppy auto-traces or stacked clip art. They double-burn every contour they touch.
- Gradients and shadows. Lasers do not do subtle — convert to solid shapes or accept dithered approximations.
- Wrong scale. Artwork drawn at “about the right size” instead of exact 1:1 dimensions.
- Skipping the material test. Wood, leather, acrylic, and coated metals all react differently. One test burn on scrap saves the real piece.
What If You Only Have a PNG?
Do not auto-trace it the night before the job. Rough traces produce the exact problems this guide warns about: open paths, doubled lines, and mangled lettering that the laser will reproduce faithfully and permanently.
The right move is a manual vector rebuild: clean paths, outlined text, and sensible simplification for the process — drawn once, then engraved or cut as many times as you like.
Need a Laser-Ready Logo File?
Send us the PNG, JPG, or rough artwork you have now. Our specialist team manually rebuilds it into precise, machine-ready vector artwork — text outlined, paths closed, line weights corrected — and delivers SVG, AI, DXF, and EPS for laser, CNC, and vinyl workflows alike.
Message Us Tell us your machine and material — message the team and we will prepare the exact file your shop needs.
Frequently Asked Questions
What file format is best for laser engraving a logo?
True vector formats: SVG, AI, DXF, or EPS. These carry the paths the machine follows. Always confirm with your specific shop, since software preferences vary.
Why does my engraver insist on outlined text?
Laser software cannot read font files the way design apps do. Live text gets substituted with a default font or fails entirely. Converting text to outlines turns every letter into permanent vector shapes.
Can I laser engrave from a PNG?
For raster (area) engraving, a high-resolution PNG can work — the laser dithers it like a printer. But you cannot vector-cut or score from a PNG, and fine detail will be soft. A vector rebuild gives far better results.
What do the red, blue, and black colors mean in laser files?
By common convention: red paths are cut through, blue paths are scored or vector-engraved, and black areas are raster-engraved. This varies by shop and software — always confirm their color map before finalizing.
How small can logo details be for laser engraving?
As a rule of thumb, keep elements above about 1 mm. Finer detail risks burning away or filling in, especially on wood and other organic materials. When in doubt, simplify.
Can AiLogoFix prepare my logo for laser or CNC work?
Yes. We manually rebuild logos into precise machine-ready vectors — outlined text, closed paths, correct line weights — and deliver SVG, AI, DXF, and EPS formats for laser engravers, CNC routers, and cutting machines.
The Bottom Line
A laser engraver is only as precise as the file you give it. When preparing a logo for laser engraving, true vector artwork, outlined text, closed paths, correct line weights, 1:1 scale, and clear color coding are what separate a clean burn from a ruined blank — get those right and the machine handles the rest beautifully.
If your logo is currently a PNG or a rough auto-trace, our Raster to Vector Service will rebuild it to machine standards. Message us with your artwork and your machine — we will make it burn-worthy.
Logo for Laser Engraving: Complete FAQ
Every question makers and businesses ask about logo for laser engraving file preparation, answered clearly. A proper logo for laser engraving setup is the difference between a crisp, professional mark and a scorched, unreadable mess.
What file format works best for logo for laser engraving?
True vector formats win: AI, EPS, SVG, and PDF with vector content. Your laser software converts vector paths into precise tool movements, so a clean logo for laser engraving file gives the sharpest result. DXF is also common, especially for CNC-adjacent workflows.
Avoid sending only PNG or JPG files. The laser can raster-engrave them, but the result is softer and slower than vector engraving. Converting to a real logo for laser engraving vector first gives you cleaner lines, faster job times, and consistent results across materials.
How thick should lines be in a logo for laser engraving design?
Keep engraved lines at least 0.5mm wide for wood and acrylic, and 0.3mm for metal marking. A logo for laser engraving file with hairline strokes will either vanish or burn inconsistently. When in doubt, thicken: bold survives the beam, delicate does not.
Small text is the usual victim. Test your logo for laser engraving artwork at actual size on scrap material before committing. If the smallest letters fill in or disappear, increase their weight or simplify the wording. Engraving rewards bold simplicity.
Can a logo for laser engraving file include colors?
Lasers read shapes, not colors, with one exception: color mapping. Many laser drivers let you assign different speeds and powers to different colors in your logo for laser engraving file. Red lines might cut while black lines engrave, for example.
For the artwork itself, design your logo for laser engraving file in solid black shapes on white. Gradients and photographic shading translate poorly to most engraving processes. If your logo relies on gradients, ask your designer for a single-color engraving variant.
Why does my logo for laser engraving come out blurry or doubled?
Doubling usually means a mechanical issue: loose belts, dirty mirrors, or incorrect focus. But file problems cause their share too. A logo for laser engraving file built from auto-traced art carries wobbly paths that engrave as fuzzy edges.
Check focus first, then inspect your logo for laser engraving file at high zoom. Clean bezier paths engrave as clean lines. If the paths themselves wobble, no machine tuning will fix it; the file needs redrawing. Rule out the file before you start adjusting hardware.
What is the difference between engraving and marking a logo?
Engraving vaporizes material to create depth, while marking (like fiber laser annealing on metal) changes the surface color without cutting in. Your logo for laser engraving file works for both, but the preparation differs slightly: deep engraving tolerates bolder shapes, while surface marking preserves finer detail.
Tell your designer which process you use. A logo for laser engraving setup optimized for deep wood engraving may need simplification, while the same logo for metal marking can keep its fine lines. One file rarely serves both perfectly.
Do I need to convert text to outlines for logo for laser engraving?
Absolutely. Live text depends on fonts the laser computer may not have, and missing fonts silently substitute the wrong letterforms. A production-ready logo for laser engraving file has all text converted to outlines, turning letters into pure vector paths.
Outlining also lets you fine-tune letter spacing and fix problem characters before the job runs. Once text is outlined in your logo for laser engraving artwork, it will engrave identically on any machine, anywhere, forever.
7 Logo for Laser Engraving Mistakes That Ruin Jobs
Avoid these seven logo for laser engraving mistakes and your jobs will come out cleaner with far less wasted material. Every one of them traces back to file preparation, not the machine.
1. Sending a low-resolution PNG. Raster engraving from a blurry PNG gives blurry results. Convert to a true logo for laser engraving vector first. Vectors engrave faster, sharper, and scale to any size without quality loss.
2. Hairline strokes. Lines under 0.3mm often vanish or burn unevenly. Audit your logo for laser engraving file and thicken anything delicate. Bold lines survive the beam; hairlines do not.
3. Live text. Un-outlined text risks font substitution on the laser computer. Outline everything so your logo for laser engraving artwork is pure paths. It takes ten seconds and prevents disasters.
4. Ignoring material differences. Wood, acrylic, leather, and metal all react differently to the beam. A logo for laser engraving design that sings on maple may blob on acrylic. Test on the actual material, every time.
5. Overlapping paths. Duplicate stacked shapes cause double-burns and deeper cuts in spots. Clean your logo for laser engraving file by merging overlaps before sending the job. One shape, one pass.
6. Wrong focus. Even a perfect logo for laser engraving file engraves poorly with bad focus. Check focus on every new material thickness. Two minutes of setup beats a ruined workpiece.
7. Skipping the test run. Always engrave scrap first. A quick test of your logo for laser engraving file reveals power, speed, and detail issues before they cost you real material.
Pro Tips for Flawless Logo for Laser Engraving Results
Design for the beam, not the screen. The best logo for laser engraving artwork uses solid shapes, generous spacing, and bold lines. Squint at your design: if it reads clearly while blurry, it will engrave clearly too. This squint test catches more problems than any software check, and seasoned logo for laser engraving pros use it on every job.
Use color mapping to your advantage. Assign engraving, scoring, and cutting operations to different stroke colors in your logo for laser engraving file, then map each color to the right power and speed in your laser software. One file can drive a complete multi-operation job. The vector graphics format keeps every operation as precise, editable paths.
Keep a material settings library. Every logo for laser engraving project teaches you something about a material: the perfect speed for cherry wood, the power that frosts acrylic cleanly, the frequency for dark metal marks. Log your winners. The W3C SVG standard preserves your artwork perfectly, but only your notes preserve the settings that made it shine.
When to Hire a Designer for Logo for Laser Engraving Files
Tackle simple shapes yourself, but hire a professional when your logo has text, fine detail, or must work across materials. A designer prepares a true logo for laser engraving vector with correct line weights, outlined text, and merged paths, so your jobs run right the first time. The price of one ruined hardwood blank usually covers the design fee.
Get help when your engravings keep coming out fuzzy despite correct machine settings. That points to a bad logo for laser engraving source file, usually an auto-trace with wobbly paths. Our raster to vector service redraws logos as clean vectors with proper line weights for engraving, and we can build a bold single-color engraving variant of your logo on request.
Do not let file problems bottleneck your production. Message our team with your logo and tell us your machine and material. We will deliver a logo for laser engraving file that is tested, clean, and ready to burn.
Logo for Laser Engraving Glossary: 10 Key Terms
Annealing: A metal marking process that darkens the surface without cutting. A logo for laser engraving file prepared for annealing keeps fine detail.
Color mapping: Assigning different laser settings to different colors in the file. The pro way to run multi-operation logo for laser engraving jobs.
DPI (engraving): Dots per inch of the laser raster. Higher DPI means finer detail but slower jobs.
Focus: The distance where the beam is sharpest. Wrong focus ruins even a perfect logo for laser engraving file.
Kerf: Material removed by the beam. Account for kerf when a logo for laser engraving job includes cut-out parts.
Masking: Protective tape applied before engraving to prevent scorch marks. Essential for wood and acrylic.
Outlines: Text converted to vector paths. Non-negotiable for any production logo for laser engraving file.
Raster engraving: Burning the design dot by dot, like a printer. Slower than vector engraving but handles shading.
Scoring: A light surface kiss of the beam for fold lines and subtle marks. Often color-mapped in the file.
Vector engraving: Following paths with the beam for crisp lines. The fastest, sharpest way to run a logo for laser engraving job.