
From AI-Generated Flyer to Print-Ready File: The Complete Workflow
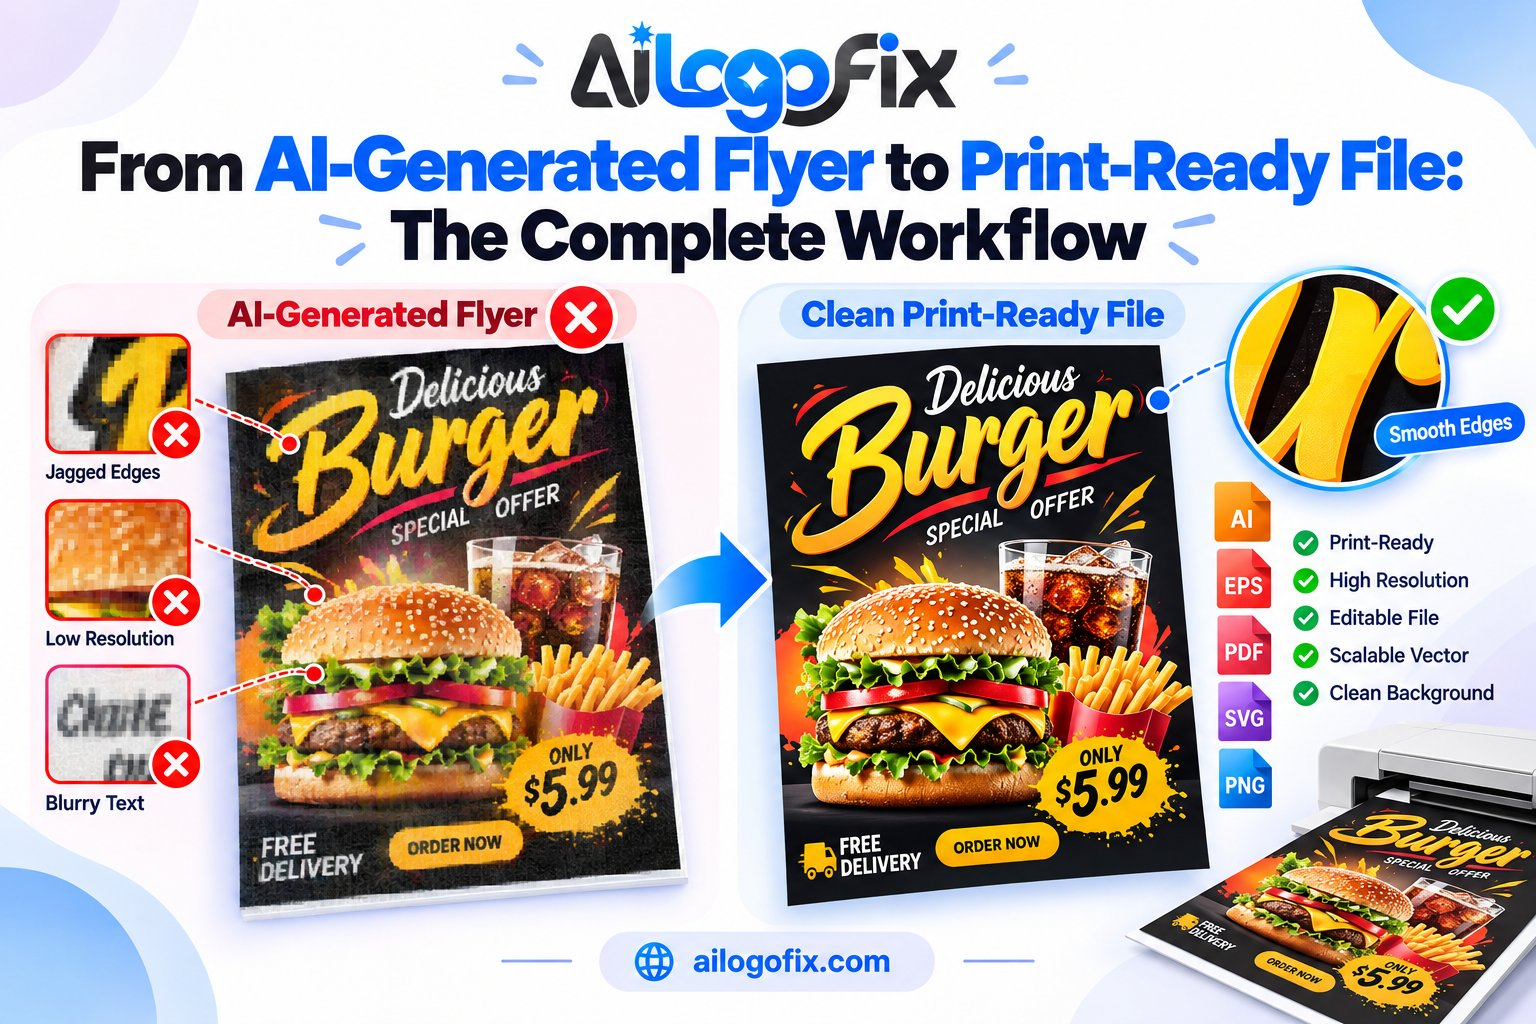
AI image generators can design a stunning flyer in seconds. But try sending that file to a printer, and you will hit a wall: wrong color mode, no bleed, low resolution, text you cannot edit. The design is done — the print preparation is not.
In This Guide
- Why AI Flyers Aren’t Print-Ready
- Step 1: Upscale to Print Resolution
- Step 2: Convert RGB to CMYK (and Fix the Colors)
- Step 3: Add Bleed and Safe Margins
- Step 4: Retype All Text as Real Type
- Step 5: Fix the Logo
- Step 6: Export a Print-Ready PDF
- Common Mistakes to Avoid
- FAQs
- AI Flyer to Print: Complete FAQ
- 7 AI Flyer to Print Mistakes (and How to Fix Each)
- Deep Dive: The AI Flyer to Print Color Pipeline
- When to Hire a Designer for AI Flyer to Print
- AI Flyer to Print Glossary
This is the complete AI flyer to print ready workflow: every step needed to turn an AI-generated flyer image into a file a print shop can actually print.
Quick answer: An AI flyer becomes print-ready in 6 steps: upscale to print resolution, convert to CMYK, add bleed and safe margins, rebuild or replace the text as editable type, fix or vectorize the logo, and export a print-ready PDF. Skip any step and the printer will send it back.
Why AI Flyers Aren’t Print-Ready
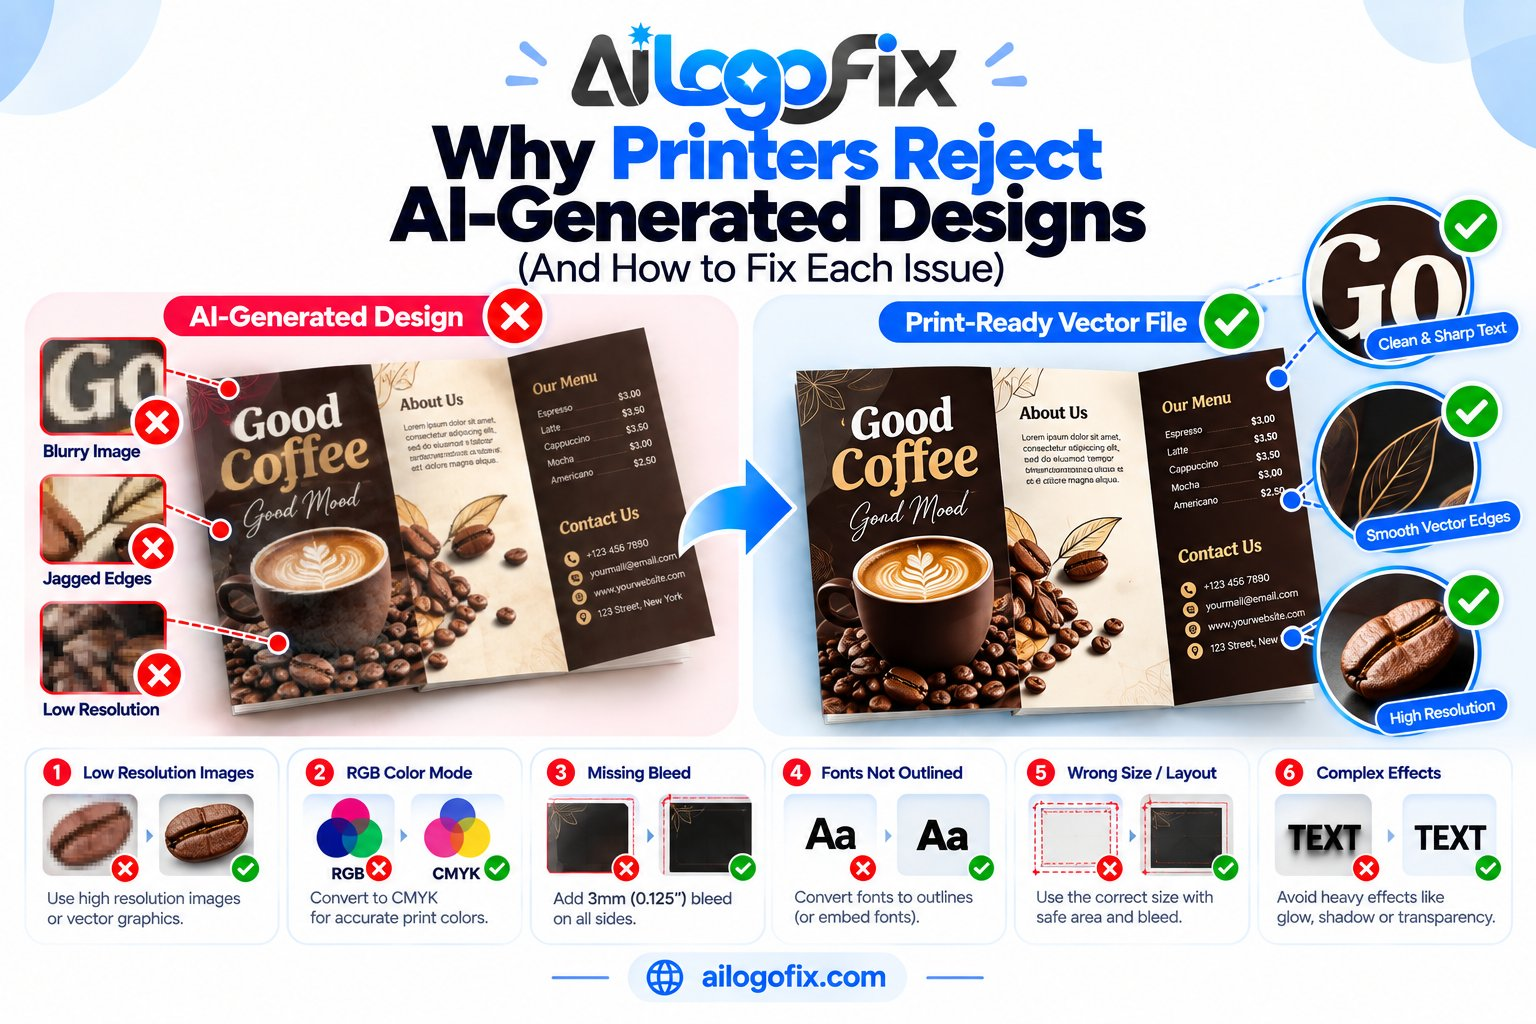
AI generators output RGB images at screen resolution (typically 1024px) with no bleed, no crop marks, flattened text, and RGB color. Printers need the opposite: CMYK, 300 DPI at final size, 3mm bleed, and editable text. The gap between those two is the entire workflow below.
The most common failure: AI “text” that looks right at thumbnail size but is gibberish up close. If your flyer has a headline, date, or phone number rendered by the AI, assume it needs retyping.
Step 1: Upscale to Print Resolution
A standard A5 flyer at 300 DPI needs roughly 1748 × 2480 pixels. Your AI image is probably 1024 × 1024 or similar — far short. Upscale it with a quality AI upscaler to at least the target pixel dimensions before doing anything else. Upscaling cannot create real detail, but it gives you enough pixels to work with.
Rule of thumb: final print size in inches × 300 = required pixels per side. An A4 flyer (8.27 × 11.69 in) needs about 2480 × 3508 pixels.
Step 2: Convert RGB to CMYK (and Fix the Colors)
Convert the image to CMYK in Photoshop, GIMP, or Photopea. Expect vivid colors — especially bright blues, greens, and oranges — to dull down. That is the CMYK gamut limit, not an error. Adjust saturation and contrast after converting, while viewing in CMYK, so what you see is what the printer produces.
Background: RGB vs CMYK vs Pantone.
Step 3: Add Bleed and Safe Margins
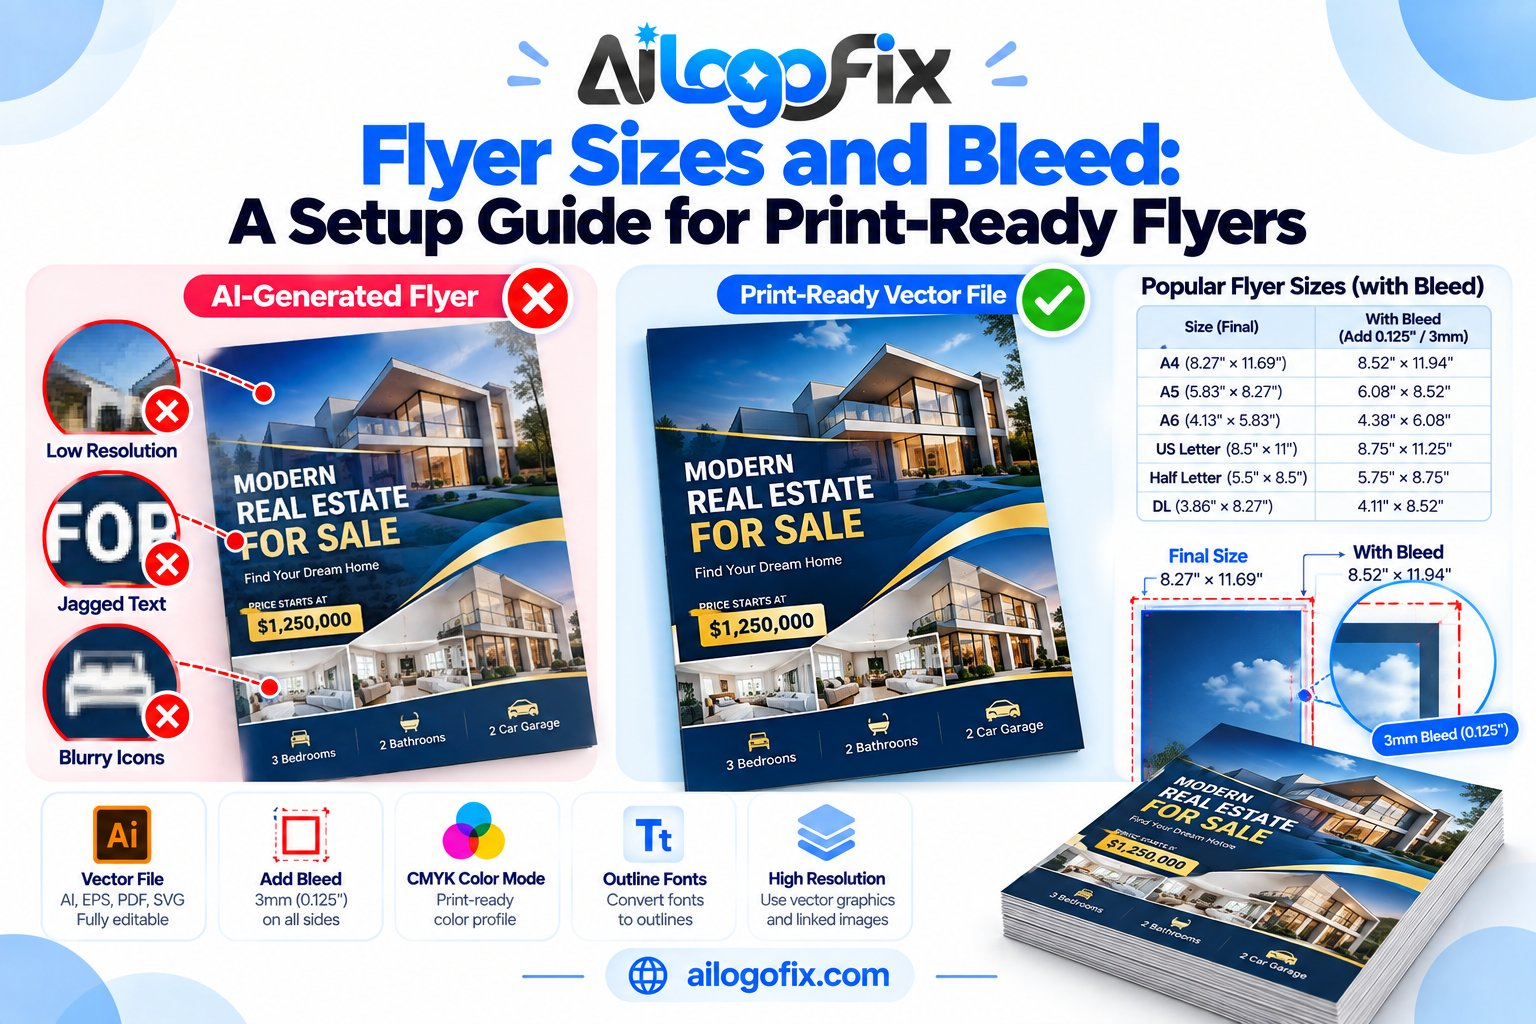
Create a new document at the final trim size plus bleed — standard is 3mm (0.125 in) on every side. Extend the background artwork into the bleed area so no white edges appear after trimming. Keep all text and important elements inside the safe margin (at least 5mm from the trim edge) so nothing gets cut off.
Place your upscaled AI artwork into this document, scaled to fill trim + bleed. If the AI image’s aspect ratio doesn’t match, extend the background (generative fill or manual cloning) rather than stretching the design.
Step 4: Retype All Text as Real Type
This is non-negotiable. Cover or remove the AI-rendered text and retype every word as editable text layers: headline, body, dates, prices, phone numbers, addresses, calls to action. Choose clean, readable fonts and check every character — AI text errors are the number-one reason flyers get reprinted.
Set body text at readable sizes (9–11pt minimum for print) and keep it inside the safe margin.
Step 5: Fix the Logo
If the flyer includes a logo, the AI version is almost certainly low-resolution with imperfect geometry. Replace it with your real logo file — ideally a vector placed directly into the layout. If you only have a pixel version, get it rebuilt as a vector first; a blurry logo ruins an otherwise perfect flyer.
Step 6: Export a Print-Ready PDF
Export as PDF with: CMYK color, 300 DPI images, 3mm bleed, crop marks, and fonts embedded or outlined. This is the file you send to the printer — not a JPG, not a PNG.
Common Mistakes to Avoid
Sending the raw AI image. Printers cannot work with a 1024px RGB JPG. It will be rejected or printed badly.
Forgetting bleed. The most common amateur tell — white slivers along the trimmed edge.
Trusting AI text. Always retype. Always proofread twice.
RGB blacks. Large black areas should be rich black (e.g. C40 M30 Y30 K100), not plain K100, for deep, even coverage — ask your printer for their preference.
FAQs
Can I print an AI-generated flyer directly?
No — not without preparation. The raw AI output is RGB, low-resolution, has no bleed, and usually contains unusable text. Follow the 6 steps above first.
What resolution does a flyer need for print?
300 DPI at the final trim size. An A5 flyer needs roughly 1748 × 2480 pixels plus bleed.
How much bleed does a flyer need?
Standard is 3mm (0.125 inches) on all sides. Extend backgrounds into the bleed; keep text 5mm+ inside the trim edge.
Should the flyer be CMYK or RGB?
CMYK for print, always. Convert early and adjust colors while viewing in CMYK.
What if the AI text looks correct?
Zoom to 200% and read every word. AI text that “looks correct” at thumbnail size is wrong surprisingly often — especially phone numbers and dates.
Can a print shop do this preparation for me?
Some offer design services for a fee, but most expect print-ready files. Preparing it yourself (or with a designer) is faster and cheaper than paying rush fix-up charges.
The bottom line: AI is a brilliant flyer designer and a terrible print technician. Your job is the 6-step bridge between the two — and once you’ve done it once, every future AI flyer takes a fraction of the time.
AI Flyer to Print: Complete FAQ
Every question designers ask about the ai flyer to print workflow, answered in depth. Use these answers alongside the step-by-step guide above.
Can I send an AI-generated flyer directly to a printer?
No. An AI image generator gives you a flat RGB picture, usually at screen resolution, with no bleed, no CMYK separation, and text baked in as pixels. Printers need a press-ready PDF with bleed, CMYK color, embedded fonts, and 300 DPI images. The ai flyer to print process is the bridge between those two worlds: you rebuild or repair the AI concept into a file a press can actually run. Skipping this step is the number one reason AI flyers get rejected or print badly.
What resolution does an AI flyer need for print?
300 DPI at final print size, no exceptions. Most AI generators output 1024 or 2048 pixels on the long edge, which is roughly 3 to 7 inches wide at 300 DPI. That is fine for a phone screen but far too small for an A4 or US Letter flyer. A proper ai flyer to print workflow upscales the artwork (ideally with a dedicated AI upscaler, then manual cleanup) or rebuilds the layout at true print dimensions. Always check effective resolution after placing images, because an upscaled file can claim 300 DPI while still looking soft.
How do I convert an AI flyer from RGB to CMYK?
Never rely on automatic conversion at export. Open the artwork in Photoshop or Illustrator, assign the correct CMYK working space (ask your printer for their ICC profile), and convert deliberately so you can see what shifts. Neon blues turn purple, electric greens go muddy, and bright reds lose punch. The ai flyer to print color step means adjusting those problem colors by hand after conversion, then soft-proofing on screen. For brand-critical colors, specify a Pantone reference and ask the printer to match it.
How much bleed does an AI flyer need?
3mm on every side (0.125 inch in the US) is the standard most printers quote. Bleed is the sacrificial margin beyond the trim edge that gets cut away, and it exists because cutters drift slightly. Any background color, photo, or graphic that touches the edge must extend fully into the bleed, or you get thin white slivers after trimming. The ai flyer to print setup adds bleed in the document from the start. AI generators never include bleed, so you must extend backgrounds yourself, usually by outpainting or mirroring edges.
Why does the text look wrong on my AI flyer?
AI image models do not understand letterforms. They paint shapes that look like text at a glance but dissolve into gibberish on close inspection, with misspelled words, warped letters, and inconsistent fonts. No ai flyer to print file should keep AI-rendered text. Retype every headline, subhead, and contact detail as real, editable type in InDesign, Illustrator, or even Canva. Match the AI’s font vibe with a real font, set proper sizes and leading, and convert to outlines (or embed fonts) before export.
What file format should I send to the printer?
A press-ready PDF, specifically PDF/X-1a or PDF/X-4, with bleed and crop marks included. This is the universal handoff format that preserves CMYK color, embeds fonts, and locks the layout exactly as you designed it. The ai flyer to print export checklist: correct page size (trim plus bleed), 300 DPI images, CMYK throughout, fonts embedded or outlined, and no RGB objects left behind. Send a low-resolution preview JPG alongside so the printer can do a quick visual sanity check.
Can AI upscale a flyer to print size by itself?
AI upscalers help, but they are not a complete ai flyer to print solution. A good upscaler can take a 1024px image to 4096px convincingly for photographic areas, yet it also invents detail, sharpens noise, and can distort faces, logos, and text. Use upscaling as one step, then inspect at 100 percent zoom, fix artifacts manually, and replace the logo with a true vector version. Upscaling improves pixels; it does not add bleed, fix color mode, or repair text.
How long does AI flyer to print preparation take?
For a simple one-sided flyer, expect 1 to 3 hours of careful work: upscaling, CMYK conversion, bleed setup, retyping text, swapping in a vector logo, and exporting with preflight checks. Complex flyers with heavy photo content or multiple sizes take longer. The ai flyer to print timeline shrinks dramatically once you build a reusable template with your sizes, bleed, and color settings saved. Rushing this stage is false economy; one rejected print run costs far more than an extra hour of prep.
7 AI Flyer to Print Mistakes (and How to Fix Each)
These are the errors that sink most ai flyer to print attempts. Each one is fixable in minutes once you know what to look for.
1. Sending the raw AI file. Uploading the JPG or PNG straight from the generator guarantees rejection or a bad print. Fix: treat the AI output as a concept reference only, then rebuild it as a proper ai flyer to print document at real dimensions with bleed, CMYK, and real type.
2. Forgetting bleed entirely. AI images end exactly at the visible edge, so trimming leaves white hairlines. Fix: extend every edge-touching element 3mm past trim using outpainting, mirroring, or solid color fills matched to the design.
3. Leaving the file in RGB. Presses print CMYK ink, and blind conversion shifts colors unpredictably. Fix: convert deliberately in your design app with the printer’s ICC profile, then hand-correct the colors that shift worst in your ai flyer to print file.
4. Keeping AI-generated text. Gibberish lettering looks fine as a thumbnail and terrible in print. Fix: retype everything as live text, choose real fonts that match the mood, and outline or embed them before export.
5. Using a pixelated logo. The AI invents a fake logo, or you paste a tiny web PNG. Either way it prints soft. Fix: use a true vector logo. If you only have a raster version, convert your logo to vector before placing it in the ai flyer to print layout.
6. Wrong document size. Designing on a random pixel canvas instead of real-world A4, A5, or Letter dimensions. Fix: build the document in millimeters or inches at the exact trim size plus bleed, from the very first click.
7. Skipping the proof. Sending files without ever viewing them at full size or on paper. Fix: export the PDF, zoom to 100 percent, print a desktop proof, and run a preflight check. Ten minutes here saves a ruined print run.
Deep Dive: The AI Flyer to Print Color Pipeline
Color is where most ai flyer to print projects quietly fail. The screen lies to you, and the press tells the truth. Understanding the pipeline from RGB pixels to CMYK ink is what separates amateur results from professional ones.
Start with the right working space. Before touching a single pixel, set your document to CMYK and load your printer’s ICC profile. This profile describes exactly how that specific press, ink, and paper combination reproduces color. Designing without it is like navigating without a map; you might arrive, but you cannot plan the route. Ask the printer which profile they prefer. If they shrug, use a standard coated profile such as FOGRA51 or US Web Coated SWOP, depending on your region.
Convert deliberately, then correct. When you convert the AI artwork from RGB to CMYK, do it as an explicit step, not as a silent export option. Watch what happens to saturated blues, greens, and oranges. These are the colors that fall outside the CMYK gamut and shift hardest. The ai flyer to print fix is manual: select the shifted areas and nudge hue and saturation until the proof looks right. This is skilled work, but even basic corrections beat blind conversion.
Rebuild rich blacks properly. AI generators paint “black” as RGB 0,0,0, which converts to a flat, weak CMYK black that looks gray in large areas. For headlines and large dark backgrounds, use rich black (for example 60C 40M 40Y 100K) to get deep, even coverage. For small body text, use plain 100K black only, because registration shifts on tiny rich-black text cause colored fringing. Getting black right is a small detail with outsized impact on perceived print quality.
Soft-proof before you commit. Enable soft-proofing with the printer’s profile and simulate paper white. Your monitor now approximates the press output, including the slight dulling that coated or uncoated stock introduces. The CMYK color model is subtractive, which is why screen brights always lose energy on paper. Soft-proofing will not replace a physical proof, but it catches the worst surprises while fixes are still cheap.
Lock brand colors with references. If the flyer must match brand colors, do not trust the AI’s interpretation. Pull the official CMYK or Pantone values from the brand guide and apply them to logos, headlines, and key graphics. The ai flyer to print color pipeline ends with certainty, not hope: every critical color has a number attached, and those numbers are what the press reproduces.
When to Hire a Designer for AI Flyer to Print
Doing the ai flyer to print conversion yourself makes sense for simple internal handouts. But some situations repay professional help many times over.
Your logo only exists as a low-resolution file. A blurry logo destroys flyer credibility faster than any other flaw. Designers start every serious ai flyer to print job by securing a true vector logo, because everything else in the layout depends on that foundation being sharp.
The campaign carries real revenue. Product launches, property sales, event promotions with ad spend behind them. When the flyer has to convert strangers into customers, design quality directly moves the response rate, and the design fee is trivial next to the campaign budget.
You need a family of sizes. A4 handouts, DL rack cards, social versions, and a poster are not one design resized; each needs real layout adaptation. A designer rebuilds each format properly instead of stretching pixels.
Print keeps failing. If printers keep rejecting your files or finished prints come back wrong, the problem is prepress knowledge, not effort. A designer who lives in bleed, CMYK, and PDF/X standards eliminates the rejection cycle permanently.
You are on a deadline. Learning prepress under time pressure is miserable. Handing the AI concept to a professional turns a stressful week into a two-day turnaround with a file you can reuse.
Need it handled properly? Message our design team with your AI flyer concept. We rebuild it as a true print-ready file: vector logo, correct bleed, CMYK color, embedded fonts, and a press-ready PDF your printer will accept on the first submission.
AI Flyer to Print Glossary
Bleed: Extra image area past the trim edge (standard 3mm) that gets cut away.
Trim size: The final flyer dimensions after bleed is removed.
Safe zone: The inner margin where all critical text and logos must sit.
CMYK: The four process inks (cyan, magenta, yellow, black) used in full-color printing.
RGB: The screen color mode AI generators produce; must be converted for print.
DPI: Dots per inch. Print needs 300 DPI at final size; screens show 72. Learn how DPI actually works before judging image quality.
PDF/X: The standardized PDF flavor printers require, with color and fonts locked down.
ICC profile: A file describing how a specific press reproduces color.
Soft-proofing: Simulating press output on your monitor before printing.
Outpainting: Extending an image beyond its borders, useful for creating bleed.
Bottom line: The ai flyer to print workflow is not complicated, but it is unforgiving of skipped steps. Correct size, 3mm bleed, 300 DPI, CMYK color, real type, vector logo, press-ready PDF. Nail that sequence and your AI concept becomes a flyer a printer accepts without a single question.