
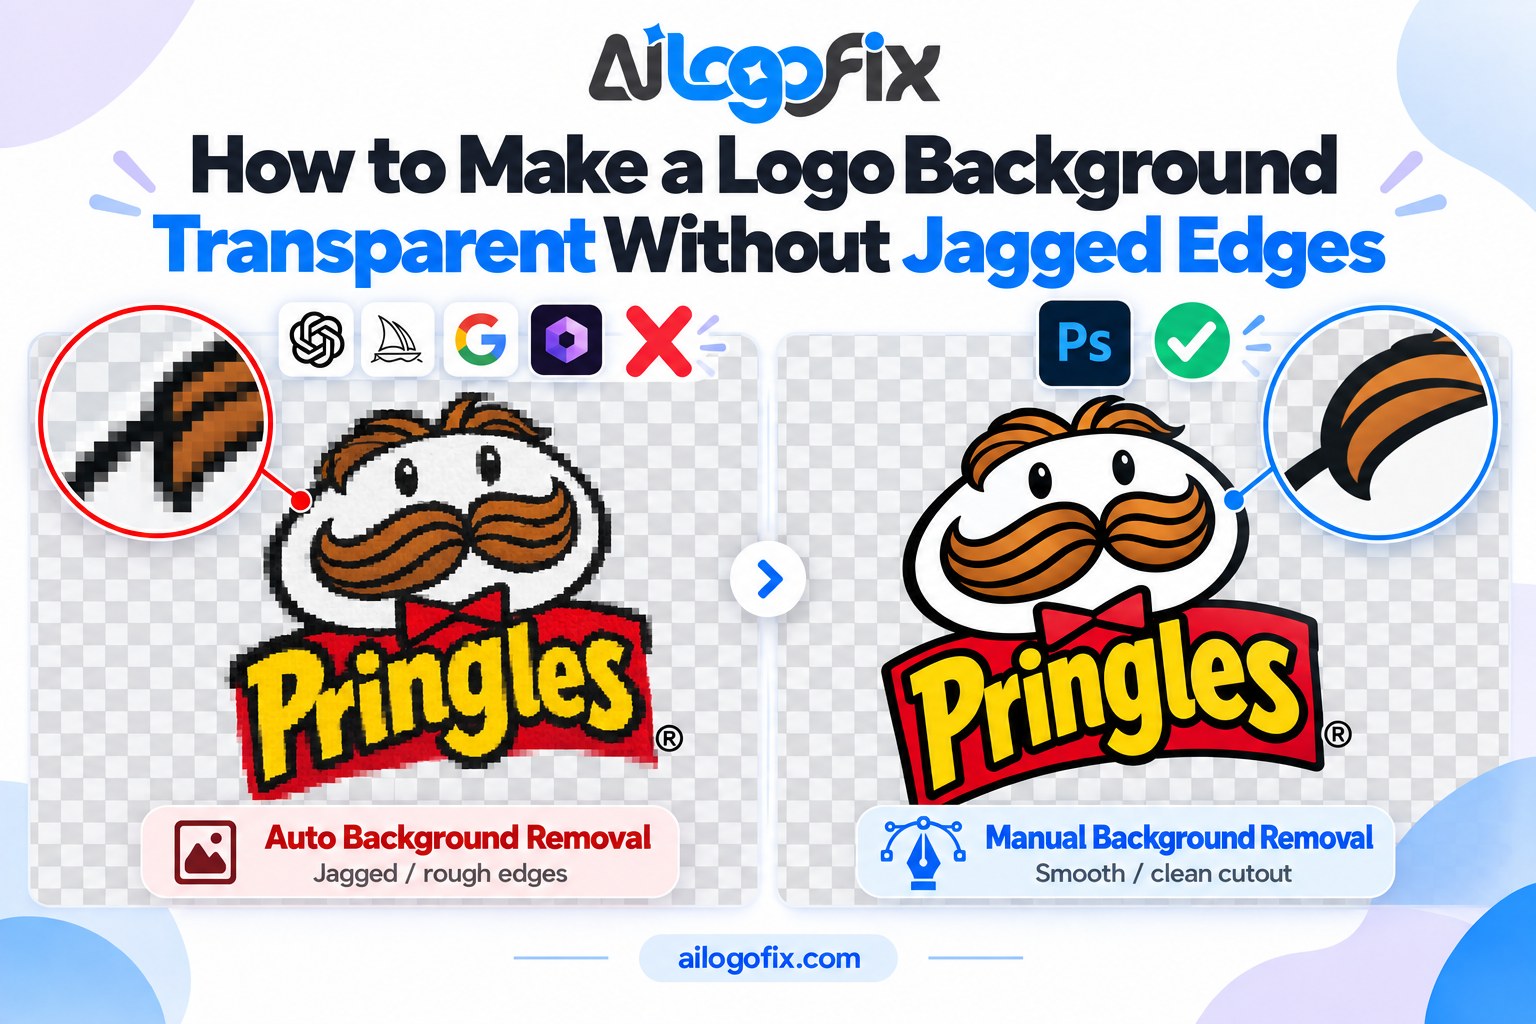
How to Make a Logo Background Transparent Without Jagged Edges
You removed the background from your logo — and now it has an ugly white halo, jagged stair-step edges, or a faint box around it on dark backgrounds. Here is how to make a logo background transparent properly, so the edges stay smooth and clean everywhere you place it.
In This Guide
- Why Edges Go Jagged
- The Proper Method: Step by Step
- The Vector Shortcut (Best Results)
- Quick Fixes vs Proper Fixes
- FAQs
- Transparent Logo Background: Complete FAQ
- 6 Transparent Logo Background Mistakes and How to Fix Each
- Pro Tips for Flawless Transparent Logos
- When to Hire a Designer for Transparent Logos
- Transparent Logo Checklist
Quick answer: Jagged edges come from low-resolution sources and one-click background removers. The proper method: work from the highest-resolution source you have, cut out the logo with precise manual paths (not auto-select), refine the edge pixels, and export as PNG with true transparency — or better, rebuild it as a vector. A clean transparent logo background is a workflow result, not a filter result.
Why Edges Go Jagged
Low resolution. A logo that is 300 pixels wide has only 300 pixels of edge to work with. Every curve becomes visible stair-steps when enlarged. No tool can invent the smooth edge that was never there.
Auto-select tools. One-click background removers guess where your logo ends. On anti-aliased (soft) edges, they guess wrong — leaving a white fringe or chewing into the logo itself.
JPEG artifacts. If your source is a JPG, compression noise around the edges gets baked into the cutout as rough, dirty pixels.
Wrong export. Saving as JPG (which cannot do transparency) or as a low-quality PNG reintroduces the problems you just fixed.
The Proper Method: Step by Step
Step 1: Start with the best source
Find the largest, cleanest version of your logo. Every extra pixel of resolution gives you a smoother edge. If all you have is a small JPG, be honest about the limits — or consider a full vector rebuild, which eliminates the problem entirely.
Step 2: Cut out with manual paths
Do not rely on magic-wand or auto-select alone. Trace the logo’s outline with a manual pen path (in Photoshop, GIMP, or Photopea), then convert the path to a selection. Manual paths follow the true edge; auto tools follow noise.
Step 3: Refine the edge
Zoom to 200–400% and inspect the edge. Use “Refine Edge” / “Select and Mask” sparingly — a 1-pixel feather softens the cut without blurring it. Push the selection edge slightly inward (contract by 1 pixel) to cut away the white fringe rather than including it.
Step 4: Decontaminate colors
Edge pixels are blended with the old background color. Most editors have a “decontaminate” option that recolors edge pixels toward the logo’s true colors — this kills the white halo on dark backgrounds.
Step 5: Export correctly
Export as PNG-24 with transparency (not JPG, not PNG-8). Check “transparency” is enabled. Then test the file: place it on a dark background, a photo, and a colored background — the edge should look clean on all three. Full format guidance: JPG vs PNG vs SVG for logos.
The Vector Shortcut (Best Results)
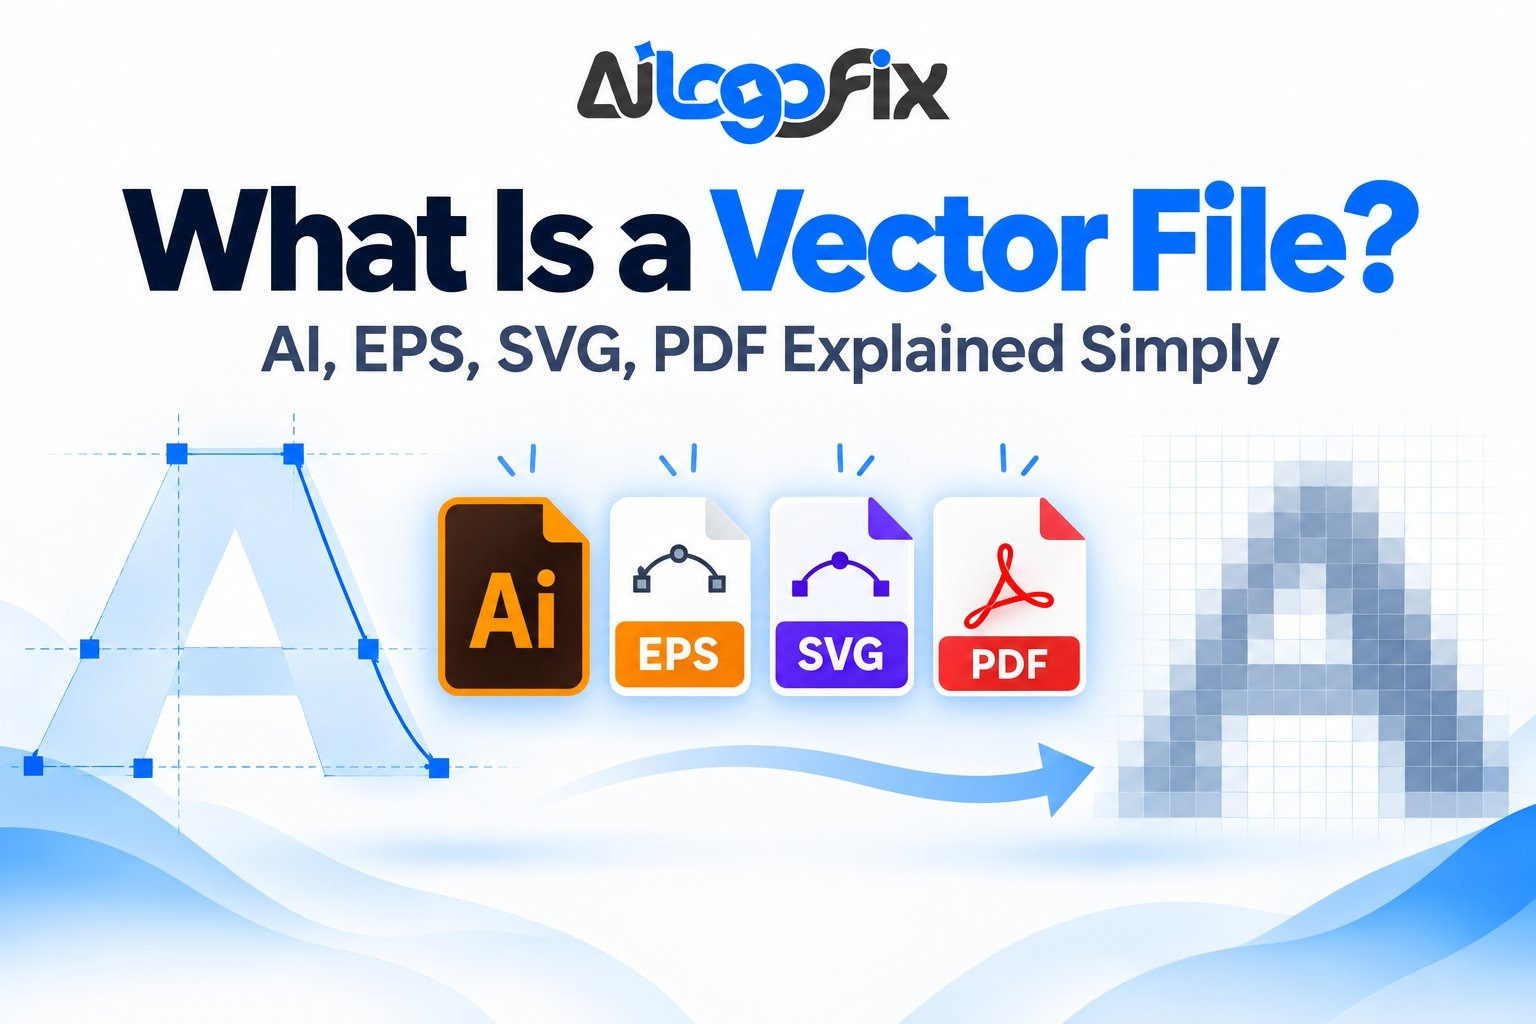
Here is the truth professionals know: the cleanest “transparent background” is no background problem at all. A vector logo (SVG, AI, EPS) has no pixels and no background to remove — edges are mathematically perfect at every size, on every background.
If you find yourself fighting jagged edges repeatedly, the real fix is converting the logo to vector once: what a vector file is, and our raster to vector service.
Quick Fixes vs Proper Fixes
| Method | Edge quality | Best for |
|---|---|---|
| One-click remover apps | Rough, fringed | Quick mockups only |
| Manual path cutout + PNG | Clean | Photos, slides, web use |
| Vector rebuild | Perfect at any size | Logos, print, professional use |
Jagged Edges? We Will Fix Them Properly
Send us your logo — our designers will cleanly remove the background with precise manual paths, or rebuild it as a perfect vector, and deliver files with flawless transparency.
FAQs
Why does my transparent PNG have a white outline?
That is background fringe — edge pixels blended with the old white background. Fix it by contracting the selection 1 pixel inward and using decontaminate colors before export.
Why do the edges look jagged when I enlarge the logo?
Your source resolution is too low. A PNG cannot gain detail by enlarging — only a vector rebuild gives perfectly smooth edges at any size.
Can I make a JPG background transparent?
JPG does not support transparency at all. You must convert and export as PNG (or GIF). The transparency is a property of the file format, not just the edit.
Do free background remover tools work well enough?
For casual mockups, yes. For a business logo, no — they leave fringed, rough edges that look unprofessional on real materials. Manual work or vector is the professional standard.
What is the best file format for a transparent logo?
PNG-24 for pixel use (web, documents, mockups); SVG or AI vector for the master — vectors have no background issues at all. Either way, test your transparent logo background on dark, light, and photo backgrounds before you ship it.
How do I test my transparent logo?
Place it on black, on a photo, and on your brand color. View at 100% and zoomed in. Clean on all three means the job is done.
The bottom line: Jagged edges are a workflow problem, not a logo problem. Cut out manually, refine the edge, decontaminate, export as PNG-24 — or skip the fight entirely and go vector.
Transparent Logo Background: Complete FAQ
Make any transparent logo background clean and professional. Jagged edges, white halos, and leftover boxes ruin logos; this transparent logo background FAQ shows how to get crystal-clear cutouts every time.
What is a transparent logo background?
A transparent logo background means the area around your logo shows whatever sits behind it: a photo, a color, a pattern. Instead of a white box, the logo floats cleanly on any surface. Every professional transparent logo background is achieved with file formats that support transparency, like PNG or vector files, plus a precise cutout of the logo’s edges. Websites, presentations, videos, and merchandise all demand transparency; a logo with a baked-in white rectangle looks amateurish the moment it leaves a white page.
Why does my transparent logo have jagged edges?
Jagged edges come from low-resolution sources and rough selections. When a transparent logo background is cut from a small image, each pixel becomes a visible stair-step along curves. The fix is working from the highest-resolution source available and refining the edge: feather slightly, smooth the selection, and inspect at 200 percent zoom. For a truly flawless transparent logo background, vector cutout is unbeatable; mathematical paths have no pixels to stair-step. If your edges still crunch, the source was simply too small.
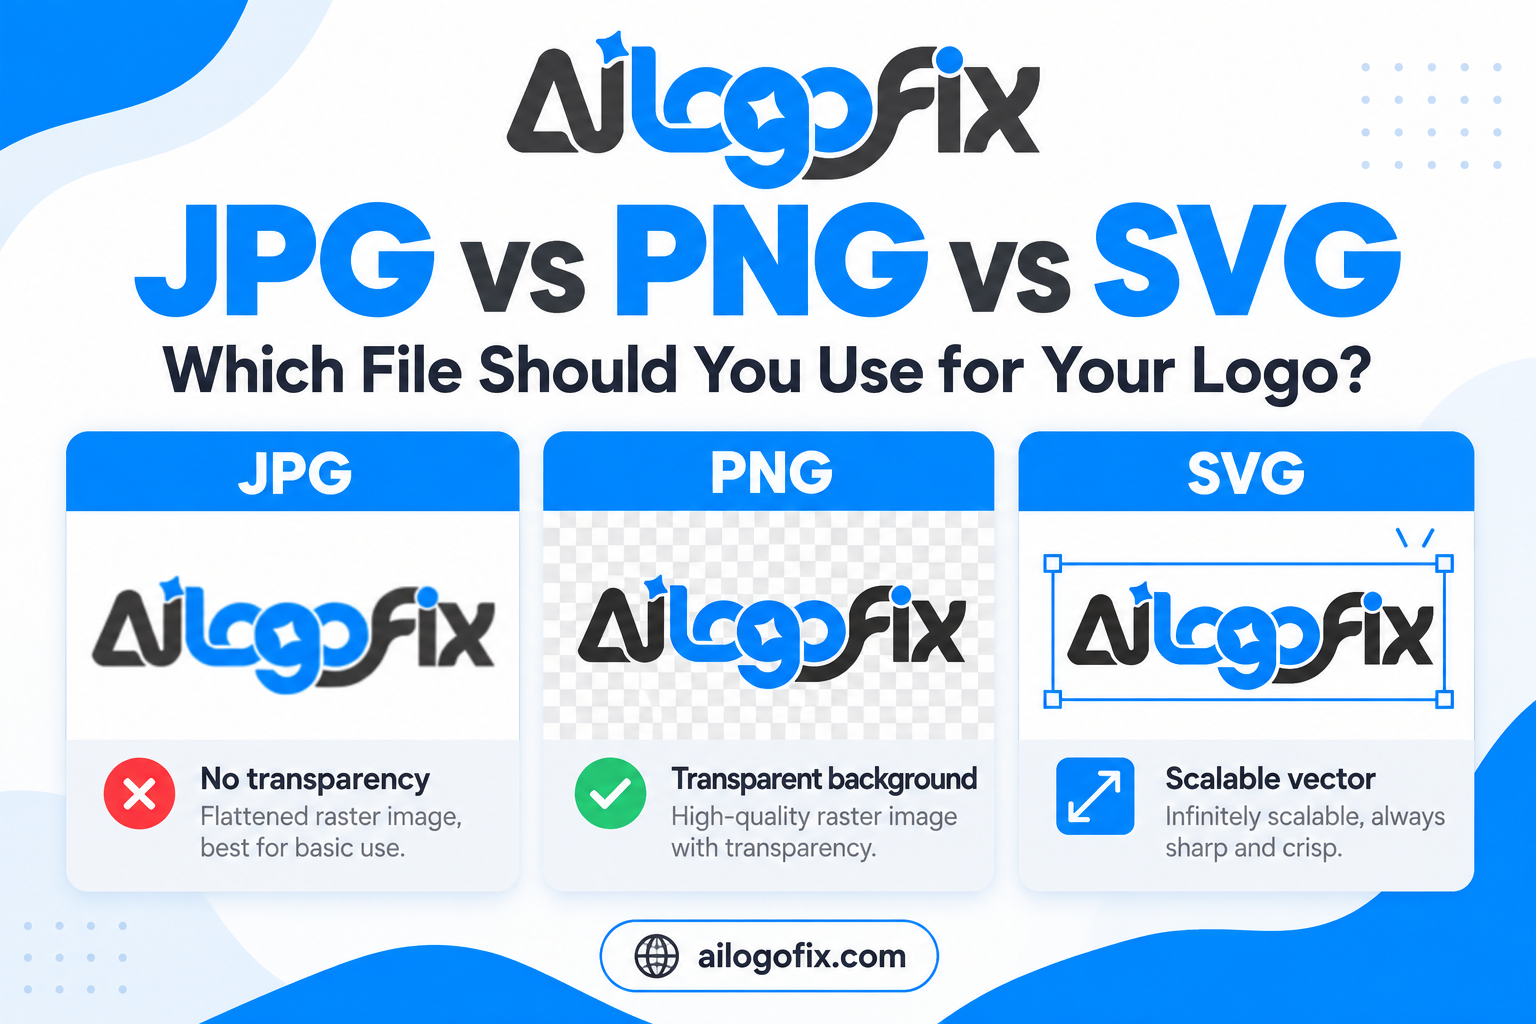
Which file format is best for a transparent logo background?
PNG for raster use, SVG or AI for vector. PNG supports full alpha transparency and works everywhere on the web, making it the default transparent logo background format for digital. SVG goes further: infinitely scalable with perfect edges at any size. Never use JPG for transparency; the format simply cannot do it, and every transparent logo background attempt in JPG ends as a white box. For print, transparent backgrounds live inside vector PDFs and AI files. Keep a PNG for quick use and a vector master for everything serious.
What causes the white halo around my transparent logo?
The dreaded halo is leftover background baked into edge pixels during a sloppy cutout. When creating a transparent logo background, edge pixels blend logo color with the old background; if that background was white, you get a white fringe on dark surfaces. Fix it by decontaminating colors in Photoshop, which re-tints edge pixels toward the logo color, or by contracting the selection one pixel before masking. The cleanest transparent logo background method, a true vector cutout, never creates halos because there are no blended edge pixels at all.
Can I make a logo background transparent in Canva or free tools?
Yes, for simple cases. Background remover tools handle high-contrast logos on plain backgrounds reasonably well, giving you a quick transparent logo background for casual use. But they struggle with hairline details, semi-transparent elements, gradients fading to nothing, and low-contrast edges. For a client-facing transparent logo background, manual refinement or vector cutout still wins. Use free tools for drafts and mockups; invest in proper cutout work for anything the public sees.
How do I check if my logo background is truly transparent?
Place it on a dark or patterned background; fakes reveal themselves instantly. A real transparent logo background shows the new background cleanly through every gap in the design. Also try the checkerboard test: open the PNG in any editor and look for the gray checkerboard pattern behind the logo. For a bulletproof transparent logo background check, zoom to 300 percent on the edges; clean edges mean real transparency, while fringes and boxes mean more work is needed.
Should I use a transparent PNG or a vector file?
Both, for different jobs. A transparent logo background PNG is perfect for quick digital placement: websites, slides, social posts. But PNG is resolution-fixed; enlarge it too far and edges soften. Vector files (SVG, AI, EPS, PDF) carry transparency mathematically and scale forever with razor edges. The professional transparent logo background workflow keeps vector masters as the source of truth and exports fresh PNGs at whatever size each job needs. Never upscale a PNG when you could export from vector.
How do I remove a background from a logo in Photoshop?
Select the logo with the Quick Selection or Object Selection tool, then click Select and Mask to refine the edge. Zoom in and paint along tricky edges with the Refine Edge brush for hairline accuracy. Output to a layer mask, then use decontaminate colors to kill any halo. This manual approach gives you a clean transparent logo background with full control over every pixel. For the absolute best transparent logo background, convert the selection to a vector path and export as SVG; paths stay sharp forever while pixel masks are resolution-locked. Save the layered PSD so you can refine the mask later without starting over.
6 Transparent Logo Background Mistakes and How to Fix Each
Fix these transparent logo background errors for instantly more professional branding.
1. The white box on colored backgrounds. Placing a JPG logo on a colored banner exposes the classic non-transparent logo background. Fix: replace it with a transparent PNG or SVG immediately. This single transparent logo background upgrade transforms amateur layouts into professional ones.
2. Halos on dark surfaces. White fringes around the logo scream bad cutout. Fix: decontaminate edge colors, or better, rebuild the logo as a vector cutout. A true transparent logo background has zero halo because edges are mathematically clean.

3. Jagged stair-step edges. Cutting from a tiny source bakes pixelation into the transparent logo background. Fix: work from the largest source available, or convert the logo to vector first so the cutout uses smooth paths instead of pixels.
4. Semi-transparent mess. Drop shadows and glows turn to gray boxes when flattened badly. Fix: export PNG-24 with full alpha, or keep effects live in vector. A proper transparent logo background preserves soft shadows as true transparency, not gray rectangles.
5. Wrong format for the job. Using PNG where vector is needed, or JPG where transparency is needed. Fix: learn the transparent logo background format ladder: JPG never, PNG for web, SVG/AI/PDF for scale and print.
6. Forgetting reversed versions. A dark logo vanishes on dark photos without a white variant. Fix: every transparent logo background set needs positive and reversed versions. Build both from the vector master.
Transparency is a solved science: how graphic transparency works and why PNG handles transparency best.
Pro Tips for Flawless Transparent Logos
Master transparent logo background work with these professional habits. First, always cut out from vector when possible. A logo rebuilt as vector art gives you a transparent logo background for free: the paths define the edges perfectly at any size. If your logo exists only as a flat image, converting it to vector first is the highest-quality path to transparency.
Second, mind the matte color. When exporting transparent PNGs for specific backgrounds, some tools offer matte settings that blend edge pixels toward a chosen color. For a general-purpose transparent logo background file, leave matte off (true alpha). Only use matting when you know the exact destination background color.
Third, test on extremes. Preview every transparent logo background on pure black, pure white, and a busy photo before delivery. Edges that look clean on white often reveal halos on black. This thirty-second test catches most transparent logo background failures before clients do.
Fourth, name files intelligently. logo-transparent.png, logo-white-reversed.png, logo-black.png: clear names prevent the wrong file reaching the wrong background. A transparent logo background system is only useful if people can find the right variant.
Fifth, automate the boring parts. If you produce transparent logo background files regularly, record a Photoshop action that runs your standard cutout, decontamination, and export steps in one click. For vector-first shops, build a transparent logo background template with pre-made artboards for PNG, SVG, and reversed versions. Systems beat willpower: when the workflow is templated, every transparent logo background you ship meets the same quality bar without relying on memory. Spend an hour building the template once and save that hour on every future project.
Sixth, keep your cutout tools sharp. Software improves constantly, and the selection tools in current Photoshop versions outperform older methods dramatically. Revisit your transparent logo background technique once a year; a workflow upgrade can halve your cutout time. What took thirty careful minutes two years ago might take five today.
When to Hire a Designer for Transparent Logos
Background removal looks easy until the details matter. Hire a transparent logo background professional when precision counts.
Your logo has fine details. Thin lines, small text, and intricate marks need careful hand cutout. Professional transparent logo background work preserves every detail without crunchy edges.
You need it for print and merchandise. Screen printing, embroidery, and vinyl cutting require vector cutouts with clean paths. A true transparent logo background vector file separates colors correctly for production.
DIY cutouts keep failing. Halos, jaggies, and boxes that will not die signal it is time for expert help. Our raster to vector service includes precise transparent logo background cutouts with every conversion.
Stop fighting white boxes. Message our design team and get a transparent logo background that looks perfect everywhere.
Transparent Logo Checklist
Run every transparent logo background through this checklist:
- Source is the highest resolution available, or vector
- Edges are smooth at 200 percent zoom, no stair-steps
- No white halo on dark backgrounds
- Exported as PNG-24 or SVG with true alpha transparency
- Tested on black, white, and photographic backgrounds
- Reversed (white) version created for dark surfaces
- File names clearly indicate transparency and variant
- Vector master stored for future exports at any size
Bottom line: A clean transparent logo background is non-negotiable for professional branding. Work from the best source, prefer vector cutouts, test on dark backgrounds, and keep both positive and reversed versions. Get transparency right once and your logo looks sharp on absolutely everything.
Pro tip: After creating your transparent logo, test it on multiple backgrounds — white, black, colored, and photographic. A logo that looks clean on white might show halos on dark backgrounds. Check at small sizes too, since transparency edge issues become visible when scaled down for favicons or social profiles.