It happens more often than you would think. The designer is long gone, the original files are lost, and the only copy of your logo anyone can find is a screenshot — saved from an old website, a social media page, or a photo someone took of your shop sign.
In This Guide
- Why Screenshots Are the Hardest Starting Point
- What NOT to Do With a Screenshot Logo
- Screenshot Logo to Vector: Your Options Compared
- How Professionals Convert a Screenshot Logo
- How to Take a Better Screenshot (If It Is All You Have)
- Is Your Screenshot Usable? Quick Checklist
- Frequently Asked Questions
- The Bottom Line
- Screenshot to Vector: Complete FAQ
- 7 Screenshot to Vector Mistakes That Ruin Results
- Pro Tips for the Cleanest Screenshot to Vector Conversion
- When to Hire a Designer for Screenshot to Vector Work
- Screenshot to Vector Glossary: 10 Key Terms
Now a printer, a sign maker, or a web developer is asking for a vector file, and you are wondering if that screenshot can somehow become one.
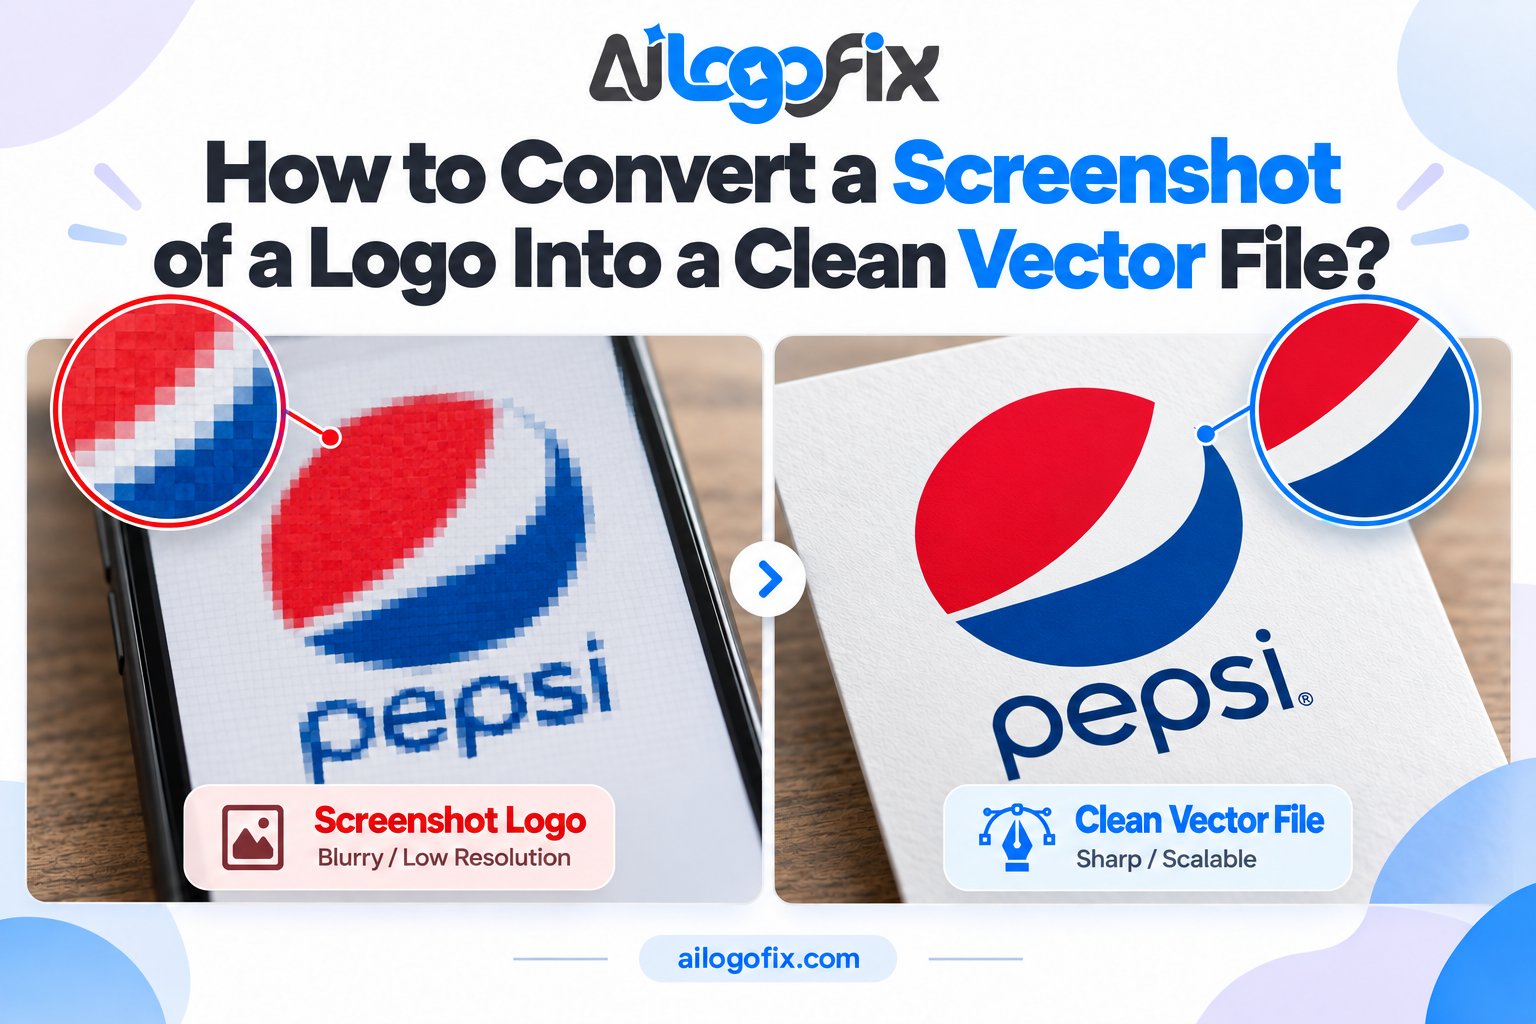
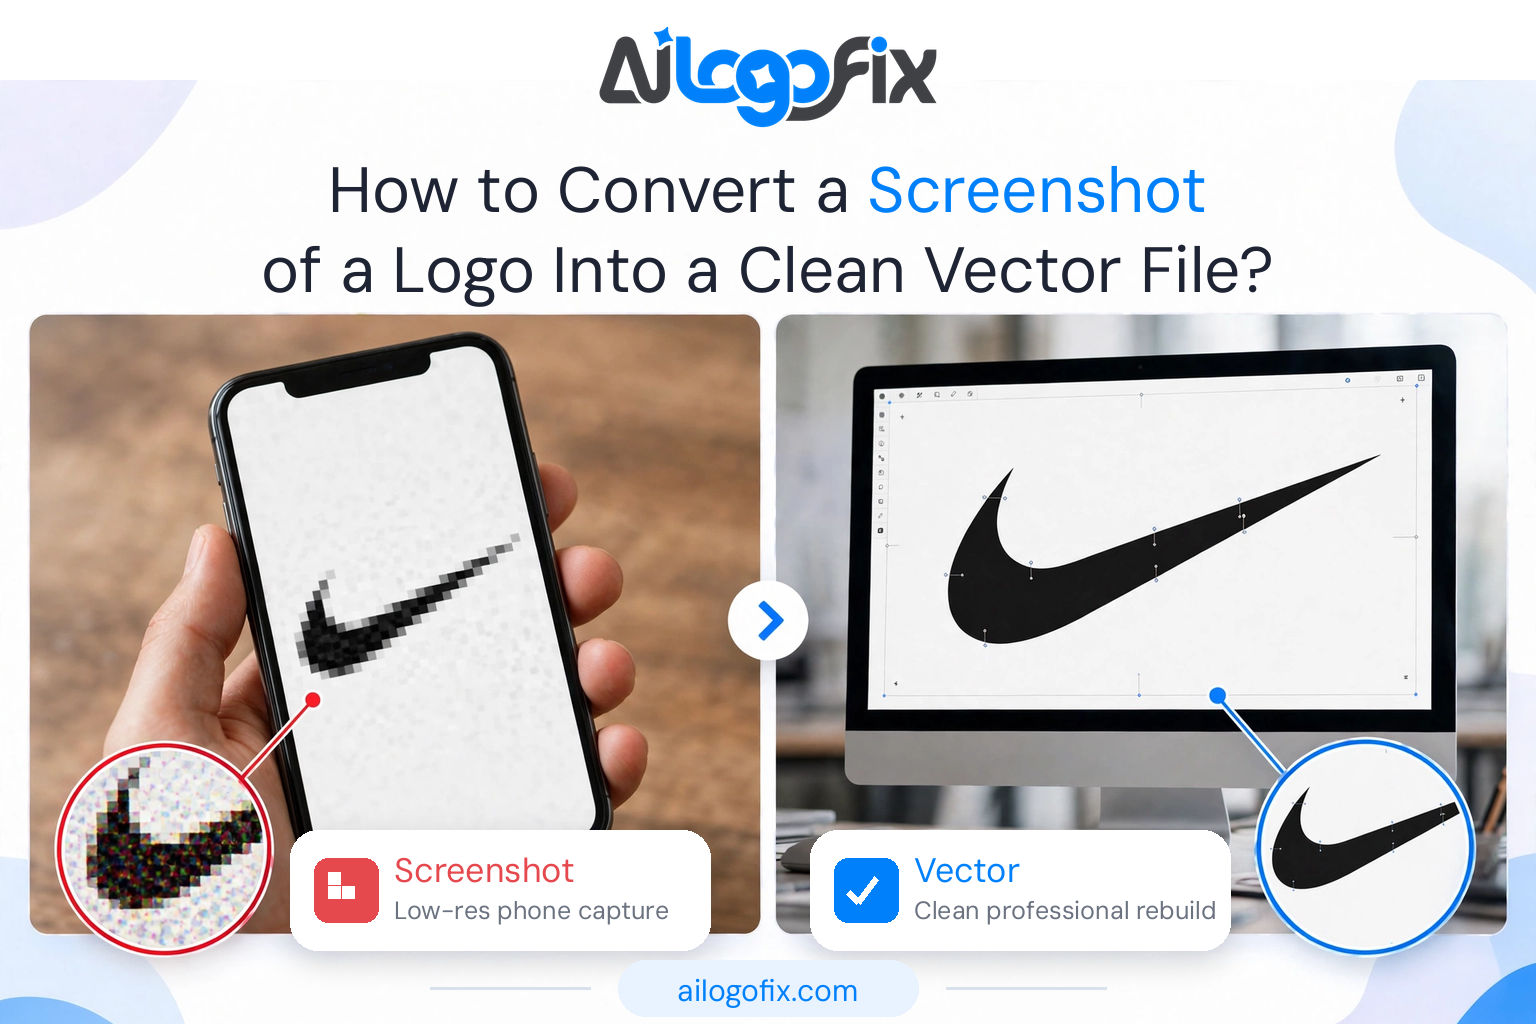
The short answer: yes, a screenshot can be turned into a clean vector logo — but not by converting the screenshot itself. Screenshots are low-resolution raster images, and no button can magically add the missing detail. The reliable path is manual vector tracing: a designer rebuilds your logo as new vector artwork, using the screenshot only as a visual reference.
This guide explains why screenshots are such a difficult starting point, what actually works, what to avoid, and how professionals handle the job.
Why Screenshots Are the Hardest Starting Point
A screenshot is about the weakest source file a logo can come from. Here is what you are usually dealing with:
Very low resolution. A screenshot only captures what was on screen — often just a few hundred pixels wide. A logo that looked fine at the top of a website may be only 200 pixels across in the screenshot.
Compression damage. Screenshots saved as JPG, or pulled from social media and messaging apps, carry compression artifacts: fuzzy halos around edges, blocky patches in flat colors, and speckled backgrounds.
Unwanted surroundings. Website screenshots include backgrounds, shadows, and page elements. Photos of signs add perspective distortion, glare, and uneven lighting.
Wrong or shifted colors. Screens display colors differently than print, and screenshots bake in whatever the screen showed — including night-mode tints and brightness adjustments.
In short, a screenshot shows what your logo looked like, but it does not contain the clean shapes, exact colors, or sharp edges a vector file needs.
What NOT to Do With a Screenshot Logo
- Do not just enlarge it. Upscaling a 300-pixel screenshot to 3000 pixels gives you a bigger blurry image, not more detail. Printers will reject it and it will look worse, not better.
- Do not auto-trace it and call it done. One-click tracing on a noisy screenshot produces wobbly paths, lumpy curves, and mangled lettering. Our comparison of manual vector tracing vs auto trace shows exactly why this fails on rough sources.
- Do not screenshot it again. Every screenshot-and-save cycle throws away more quality. Work from the best version you have, once.
- Do not rename the extension. Saving screenshot.png as screenshot.svg (or .eps, or .ai) does not convert anything — it just puts a raster image inside a vector wrapper.
Screenshot Logo to Vector: Your Options Compared
| Method | Result quality | Best for |
|---|---|---|
| Free “vectorizer” apps and websites | Low — automated tracing of a noisy source | Quick experiments only, never final artwork |
| Illustrator Image Trace / Inkscape Trace Bitmap | Medium — decent on clean sources, rough on screenshots | Simple one-color marks from good screenshots |
| Manual vector tracing by a designer | High — clean paths, correct colors, fixed lettering | Any logo you will actually print, publish, or build a brand on |
| Full logo redraw / recreation | Highest — a fresh master built to professional standards | Badly damaged sources, or when you want improvements too |
How Professionals Convert a Screenshot Logo
When our team takes on a screenshot logo to vector job, the screenshot itself is never “converted.” It becomes a reference for building something new. The process looks like this:
1. Assess the source. We check what is readable: the overall shapes, the colors, and whether any text is legible. Even a rough screenshot usually shows enough to reconstruct the design faithfully.
2. Clean and straighten. The reference gets cropped, de-skewed, and contrast-boosted so every edge is as visible as possible. This step is only preparation — it does not improve the final artwork by itself.
3. Redraw every shape as vector paths. Using the screenshot as a locked background guide, each curve, letter, and element is redrawn by hand with proper anchor points and smooth beziers. This is the step automation cannot do well on rough sources.
4. Fix what the screenshot got wrong. Screenshots hide flaws and create new ones. Letter spacing gets corrected, wobbly curves are smoothed, colors are matched to a sensible standard palette, and distorted perspective is removed.
5. Deliver a complete file package. The finished logo ships as true vector masters (AI, EPS, SVG, PDF) plus web-ready PNG and JPG exports — so you never end up screenshot-hunting again. If you are unsure what each format is for, see What Is a Vector File?
How to Take a Better Screenshot (If It Is All You Have)
If the screenshot is truly your only source, make it the best screenshot it can be before sending it anywhere:
- Capture it at the largest size possible — zoom the page or view the image full-screen first.
- Save or export as PNG, not JPG, to avoid extra compression damage.
- For a photo of signage: shoot straight-on, in even daylight, and avoid glare and shadows.
- Send the original file, not a copy that has been through WhatsApp, Facebook, or email forwarding — each resend compresses it further.
- If any part of the logo (especially text) is unreadable, say so upfront — guessing wrong lettering is worse than asking.
Is Your Screenshot Usable? Quick Checklist
- Can you clearly see the overall shapes of the logo?
- Is any text in the logo legible (or do you know what it says)?
- Are the brand colors identifiable, even approximately?
- Is it the largest, least-compressed version available?
If you answered yes to the first three, a professional can almost certainly rebuild it. If even the shapes are a mystery, you may be looking at a fresh logo recreation rather than a conversion — which is also solvable.
Only Have a Screenshot of Your Logo?
Do not let a weak source file hold your brand hostage. Our specialist team manually rebuilds screenshot logos into clean, sharp vector artwork — fixing the curves, colors, and lettering along the way — and delivers every format you need for web, print, and production.
Convert My Screenshot to Vector
Message Us Send us the screenshot — message the team and we will tell you honestly what can be rebuilt from it, free.
Frequently Asked Questions
Can a screenshot really become a true vector file?
Yes — but the screenshot is used as a visual reference, not converted directly. A designer manually redraws the logo as new vector paths guided by the screenshot, producing genuine resolution-independent artwork.
Why does auto-trace look so bad on my screenshot?
Auto-tracing follows pixels, and screenshot pixels are noisy: compression artifacts, anti-aliased edges, and backgrounds all become lumpy vector paths. The rougher the source, the worse the trace — which is why screenshots are the worst case for automation.
What files will I get back?
A professional rebuild should return true vector masters — AI, EPS, SVG, and PDF — plus web-ready PNG and JPG exports at sensible sizes. That package means you will never need the screenshot again.
What if the screenshot has text I cannot read?
Tell the designer upfront what the text should say. Legible or not, knowing the correct wording lets the lettering be rebuilt accurately instead of guessed — guessed lettering is one of the most common and embarrassing failures in logo rebuilding.
Can you work from a photo of my shop sign or vehicle?
Often, yes. A straight-on, well-lit photo works as a reference the same way a screenshot does. Perspective distortion and glare get corrected during the redraw, since the final artwork is built fresh.
Is a screenshot enough for a website logo?
It can be displayed small on a screen, but it will look soft on retina displays and cannot be used for print, signage, or any professional purpose. For the full story on web sharpness, see our guide on why logos look pixelated on websites. Rebuilding it as vector solves the problem permanently.
The Bottom Line
A screenshot of your logo is not a dead end — it is a starting reference. Do not waste time upscaling it or running it through free auto-tracers and hoping for the best. The artwork you actually need has to be rebuilt, and once it is, you will hold clean vector masters that work everywhere, at any size, forever.
If all you have is a screenshot, our Raster to Vector Service exists for exactly this situation. Message us the screenshot and we will show you what your logo was always supposed to look like.
Screenshot to Vector: Complete FAQ
These are the questions we hear most about screenshot to vector conversion, answered straight. If you only have a phone capture or a screen grab of your logo, this section tells you exactly what a screenshot to vector process can and cannot do for you.
Can any screenshot be converted with screenshot to vector methods?
Almost any screenshot can go through a screenshot to vector workflow, but the quality of the result depends on the quality of the starting image. A crisp, high-resolution screenshot of a simple logo converts beautifully. A tiny, blurry, heavily compressed thumbnail forces the designer to guess at details, which slows the job and risks inaccuracies.
The good news: a skilled designer doing manual screenshot to vector redrawing can rebuild even rough captures into clean artwork. They use the screenshot as a visual reference and redraw every curve, corner, and letterform as true vector paths. So do not assume your screenshot is hopeless, just get an honest assessment first.
How long does a screenshot to vector conversion take?
For a simple logo, professional screenshot to vector conversion usually takes 24 to 48 hours. Complex logos with fine detail, gradients, or custom lettering can take 3 to 5 days. The biggest time factor is how much detective work the screenshot demands: clean edges convert fast, while pixelated or partial captures need careful reconstruction.
Auto-trace tools promise instant screenshot to vector results, but the cleanup they require often erases the time saved. If you need the file tomorrow, tell the designer upfront. Most screenshot to vector services offer rush delivery for a small fee, and a simple logo can often be turned around the same day.
Is auto-trace good enough for screenshot to vector work?
For casual, internal-only use, auto-trace can be acceptable. But for anything customer-facing, auto-traced screenshot to vector output usually disappoints. Auto-trace follows pixels, so it reproduces every jagged edge, compression artifact, and blurry spot from your screenshot as permanent vector wobbles.
Manual screenshot to vector redrawing is the professional standard because a human understands what the logo is supposed to look like. They smooth curves, fix symmetry, match fonts, and rebuild damaged areas. The vector graphics format is capable of perfect precision, but only if the paths themselves are drawn well.
What files will I receive after screenshot to vector conversion?
A proper screenshot to vector delivery includes AI or EPS (for print and designers), SVG (for web), and PDF (universal). You should also get high-resolution PNG exports with transparent backgrounds for everyday use. Ask for the source file too, so any designer can edit the logo later.
Be wary of any screenshot to vector service that returns only a PNG or JPG. Those are raster formats, not vectors, and they defeat the entire purpose. True vector files scale infinitely with zero quality loss, which is exactly what a screenshot cannot do.
Why does my screenshot to vector result look jagged or blurry?
Jagged results almost always mean the conversion relied on auto-trace without manual cleanup. Every pixel stair-step in the original screenshot becomes a jagged vector node. A quality screenshot to vector job smooths these into clean bezier curves, so edges look razor sharp at any size.
Blurriness in a supposed vector file is a red flag that you did not actually receive a vector. Open the file and zoom to 800 percent: real screenshot to vector output stays perfectly crisp, while a raster file in disguise falls apart into pixels. If it pixelates, send it back.
How much does professional screenshot to vector conversion cost?
Expect to pay $10 to $50 for a straightforward screenshot to vector redraw of a simple logo. Detailed or damaged logos run $50 to $150. The price reflects human drawing time, not software, which is why suspiciously cheap instant services usually deliver auto-traced junk.
Compared to the cost of reprinting blurry marketing materials or rebuilding brand trust, professional screenshot to vector work is one of the cheapest upgrades a business can buy. Get a fixed quote before work starts so there are no surprises.
7 Screenshot to Vector Mistakes That Ruin Results
Most bad screenshot to vector outcomes trace back to avoidable errors. Learn these seven screenshot to vector mistakes now and your conversion will come out cleaner, faster, and cheaper.
1. Sending the smallest screenshot you have. People often send a 200-pixel thumbnail when a full-screen capture exists on their phone. A bigger screenshot to vector source gives the designer more detail to work from, which means sharper curves and more accurate lettering. Always send the largest, clearest version available.
2. Trusting one-click auto-trace. Auto-trace turns your screenshot into thousands of messy nodes that look fine at thumbnail size and terrible everywhere else. Professional screenshot to vector work means manual redrawing, where every path is placed with intent. If a service promises vectors in 60 seconds, expect auto-trace quality.
3. Ignoring the fonts. Screenshots of logos with text need font matching, not just shape tracing. A surprising number of screenshot to vector jobs fail because the text was redrawn as generic letterforms instead of the real typeface. Identify the font first, or have the designer match it, before any tracing begins.
4. Accepting a PNG as the final file. This is the most expensive screenshot to vector mistake because you pay for a vector and receive a raster. Always demand AI, EPS, or SVG deliverables. Open the file, zoom deep, and confirm the edges stay sharp. No zoom test, no payment.
5. Skipping the proof review. Even great designers misread blurry screenshots. Every serious screenshot to vector service sends a proof before finalizing. Compare it against your original at large size, check spelling twice, and confirm colors. Catching errors at proof stage is free; catching them after printing is not.
6. Forgetting about color modes. Screenshots are RGB, but print needs CMYK. A complete screenshot to vector job converts colors properly and flags any neon RGB tones that will print dull. If your logo will ever touch paper, merchandise, or signage, ask for a CMYK version in the delivery.
7. Not keeping the source file. Without the editable AI or EPS source, every future tweak means paying for the screenshot to vector job all over again. Insist on receiving the master vector file with organized, labeled layers. It is your logo; own the source.
Pro Tips for the Cleanest Screenshot to Vector Conversion
Want the sharpest possible screenshot to vector result? Start before the conversion even begins. Retake the screenshot at the highest resolution your screen allows, on a plain background, with the logo displayed as large as possible. A few minutes of care here saves hours of guesswork later, and every screenshot to vector professional will thank you for it.
During conversion, insist on manual bezier redrawing over auto-trace. Ask the designer to show you a zoomed-in node view of a curve: clean screenshot to vector work uses few, well-placed anchor points, while auto-trace litters the path with hundreds. Fewer nodes mean smoother curves, smaller files, and easier editing for years to come.
Finally, think beyond the single file. A complete screenshot to vector delivery is a small brand kit: master AI/EPS, web SVG, print PDF, transparent PNGs, plus a note on fonts and colors used. The SVG standard from W3C keeps your web version lightweight and future-proof. Bundle it once, and you will never scramble for logo files again.
When to Hire a Designer for Screenshot to Vector Work
DIY screenshot to vector tools are fine for quick mockups, but hire a professional when the logo represents your business publicly. If the vector will appear on your website header, packaging, vehicle, or storefront sign, the quality bar is high and manual redrawing pays for itself. A designer spots problems you cannot see at small sizes.
Also bring in help when the screenshot is damaged, partial, or very low resolution. Reconstructing missing parts of a logo takes judgment that software lacks. Our raster to vector service rebuilds logos from screenshots, photos, and scans every day, with manual redrawing and a proof you approve before delivery.
The simplest rule: if you would be embarrassed to show the result to a client, do not settle for auto-trace. Message our team with your screenshot and get a fixed quote for proper screenshot to vector conversion. Most simple logos are done within 48 hours.
Screenshot to Vector Glossary: 10 Key Terms
Anchor point: A control point on a vector path. Clean screenshot to vector work uses as few as possible for smooth curves.
Auto-trace: Software that converts pixels to paths automatically. Fast but messy; the budget option in any screenshot to vector comparison.
Bezier curve: The mathematical curve behind smooth vector paths. Mastering beziers is what separates pro redraws from traces.
CMYK: The four-ink color model for print. Your screenshot to vector delivery should include CMYK versions for physical use.
EPS: A universal vector format designers and printers accept everywhere. Always request it in your final delivery.
Node: Another name for anchor point. Thousands of nodes signal auto-trace; dozens signal hand drawing.
Raster: Pixel-based images like screenshots, PNGs, and JPGs. The starting point that screenshot to vector converts from.
Resolution: Pixel density of the source image. Higher resolution screenshots give the designer more to work with.
SVG: The web-native vector format. Lightweight, scalable, and perfect for websites and apps.
Vectorize: The verb for converting raster art to vector paths, whether by hand or by software.