Your logo looks perfectly fine on your website. Then your printer asks for the vector file, or you try to put it on a banner, a t-shirt, or a shop sign — and suddenly it’s a pixelated mess. Raster to vector conversion is the fix.
In This Guide
- Raster to Vector FAQ: 8 Questions Answered
- 7 Raster to Vector Mistakes (and How to Fix Each)
- Inside the Raster to Vector Redraw Process
- Raster to Vector Quality Checklist
- Pro Tips for Better Raster to Vector Results
- When to Hire a Pro for Raster to Vector Work
- Choosing a Raster to Vector Service
- Raster to Vector Glossary
If the only copy of your logo is an old JPG or PNG, you’re not alone. This happens to businesses all the time. The good news: you don’t need to redesign anything from scratch. You need raster to vector conversion.
What Does Raster to Vector Conversion Actually Mean?
Every image you see on screen is one of two types:
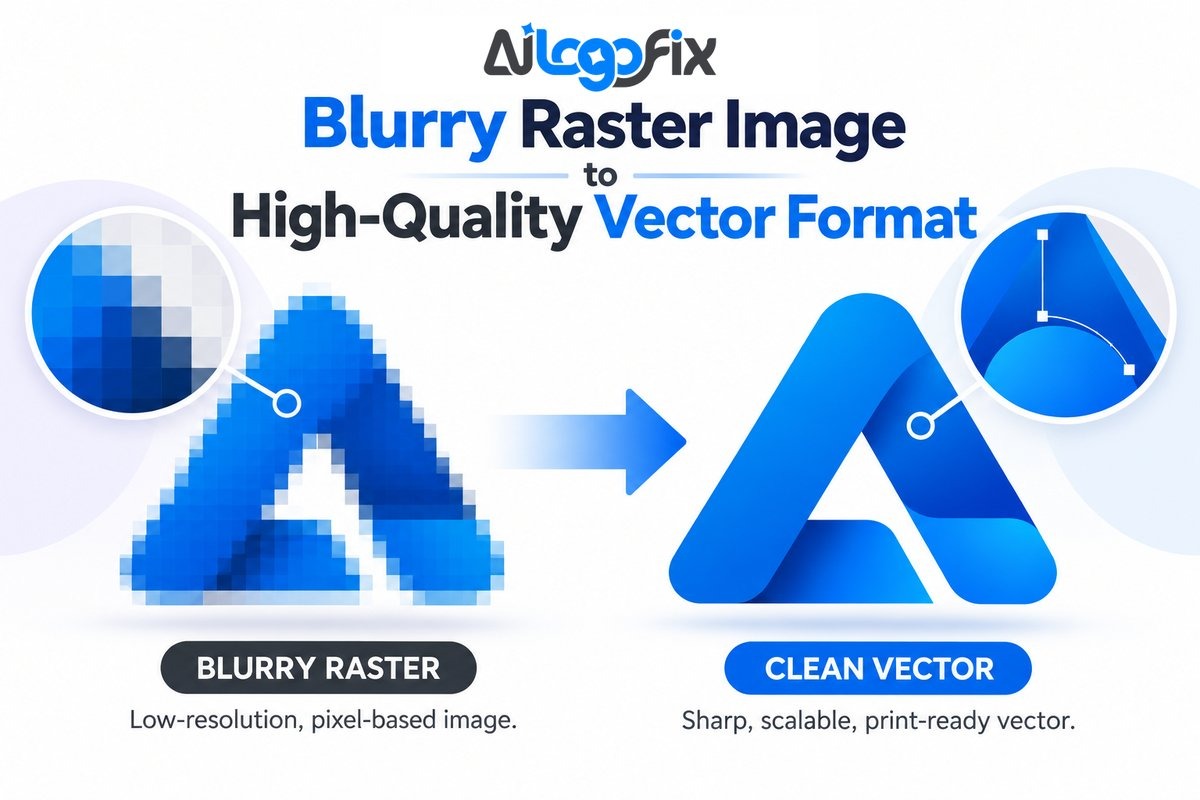
- Raster images (JPG, PNG, GIF) are made of tiny colored squares called pixels. They have a fixed size — stretch them too far and they turn blurry and blocky.
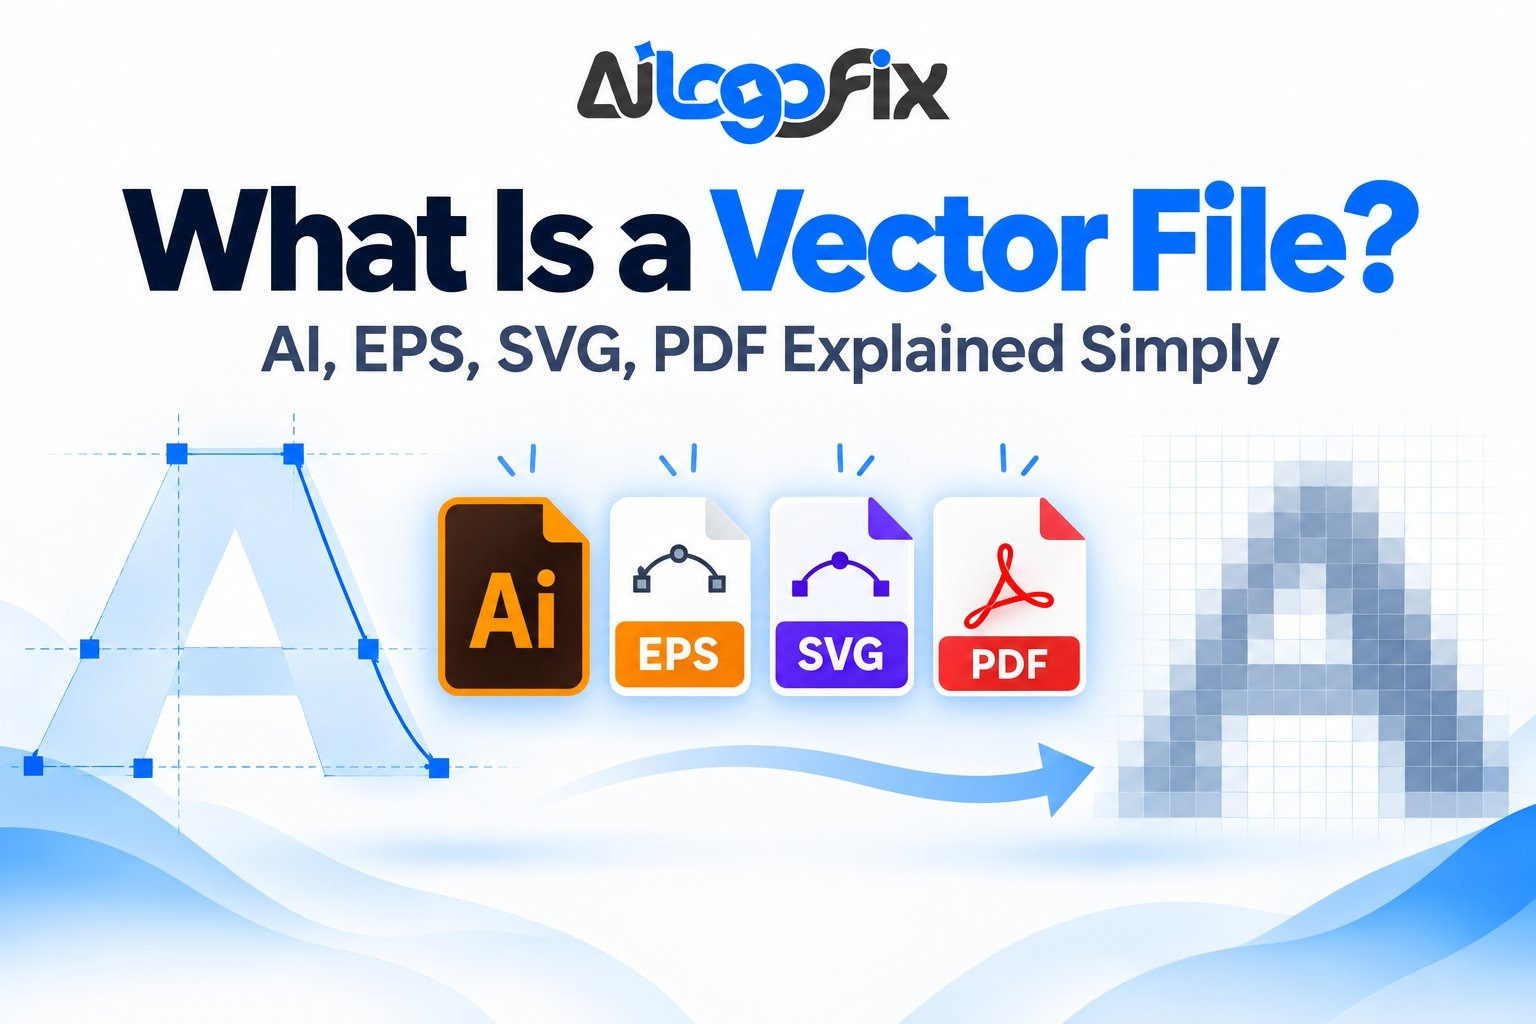
- Vector images (AI, EPS, SVG, PDF) are built from mathematical paths and curves. They have no fixed size, so they stay razor-sharp whether they’re on a business card or a billboard.
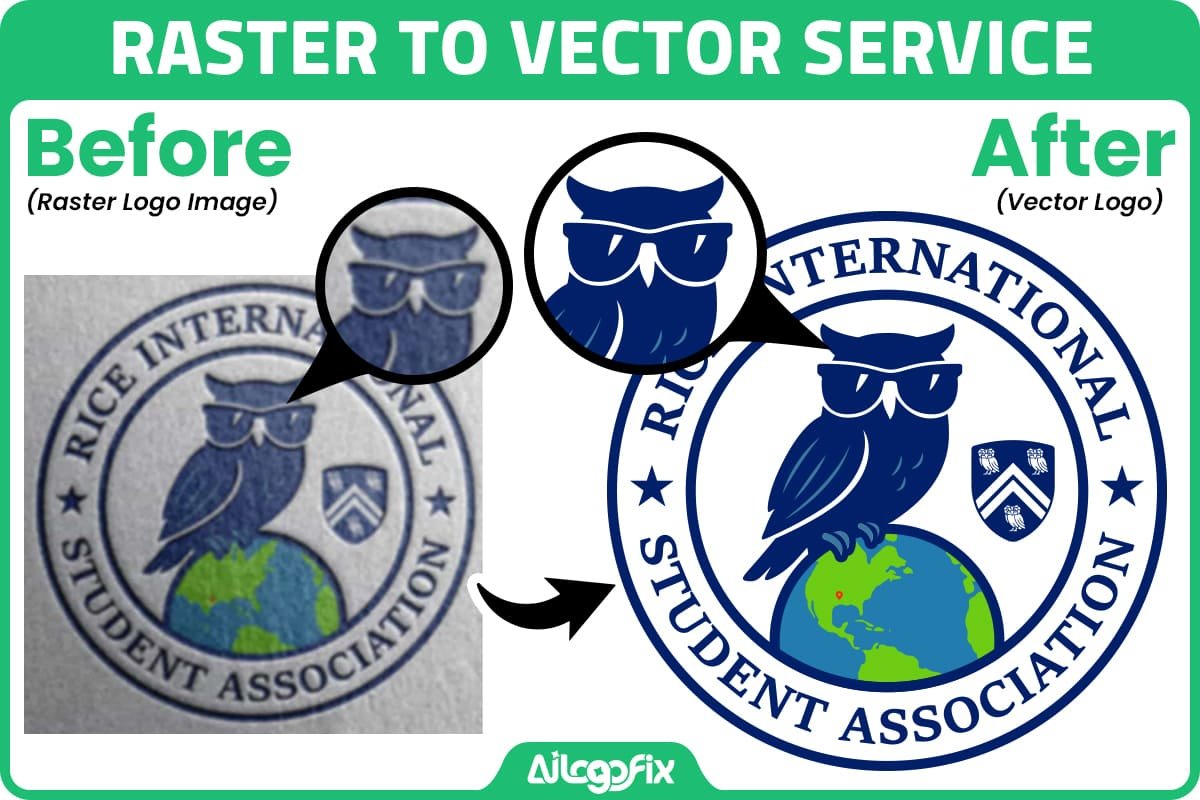
Raster to vector conversion redraws your pixel-based image as clean vector paths. Same logo, same design — but now it can be resized forever without losing quality.
Why “Auto-Trace” Tools Usually Disappoint
You’ve probably seen free one-click converters online. Here’s the honest truth about them: they work okay for very simple shapes, but for real logos and artwork they usually produce wobbly lines, muddy colors, and messy files that printers reject.

That’s why we do it the hard way at AiLogoFix — a professional designer manually redraws your artwork, curve by curve, color by color. No auto-trace shortcuts. The result is a clean, precise file that looks exactly like your original design, only infinitely scalable.
When Do You Actually Need This?
- Your printer or sign maker asked for a vector file and all you have is a JPG
- You lost the original design files and only a small image remains
- You need your logo for embroidery, vehicle wraps, t-shirts, or large signage
- An AI tool generated a logo you love, but the file is a low-res image
- Your old scanned drawing or sketch needs to become editable digital artwork
If any of that sounds familiar, a vector version will save you from this problem permanently — one master file you can reuse for every future project.
What You Get With Our Raster to Vector Service
When you order a raster to vector conversion through our Raster to Vector service:
- You upload your image — JPG, PNG, GIF, screenshot, scan, anything.
- A designer manually traces it — every curve redrawn by hand for maximum accuracy.
- You receive production-ready files — AI, EPS, SVG, PDF, plus a transparent PNG, all clean and print-ready.
- Unlimited revisions — we keep refining until it matches your original perfectly.

No software to learn, no frustrating DIY tracing, no rejected files from your printer.
Ready to Fix Your Logo?
Don’t let a blurry JPG hold your brand back. Our raster to vector conversion gives you a clean, scalable vector version of your artwork, done by real designers.
Order our Raster to Vector service here:
Have questions first? Message our team directly — we’re happy to look at your file and tell you exactly what we can do with it.
Quick FAQ
How long does it take?
Most conversions are delivered within 24–48 hours, depending on complexity.
Will the vector look exactly like my original?
Yes — manual tracing reproduces your design faithfully, and unlimited revisions mean we adjust anything until you’re happy.
What file formats will I receive?
AI, EPS, SVG, PDF, and transparent PNG — everything your printer or designer could ask for.
My image is really low quality. Can it still be converted?
In most cases, yes. As long as the design is visible, our designers can rebuild it. Send it over and we’ll give you an honest answer.
Raster to Vector FAQ: 8 Questions Answered
Everything you need to know about raster to vector conversion, explained plainly.
What does raster to vector conversion actually do?
Raster to vector conversion rebuilds a pixel-based image as mathematical paths. A raster logo is a grid of colored squares; zoom in and it turns blocky. A vector version defines every curve with equations, so it stays razor sharp at any size. Professional vectorization work means a designer manually redraws your logo using the original as a visual guide, matching shapes, spacing, and proportions. The result is a clean file you can scale from business card to billboard. Auto-trace tools attempt this automatically but produce messy, inaccurate paths.
Why not just use auto-trace for raster to vector?
Auto-trace guesses, and it guesses badly on logos. It creates thousands of tiny anchor points, wobbly curves, and distorted letterforms. Manual raster to vector redrawing gives you clean bezier curves, correct geometry, and faithful brand details. Compare the two side by side at large size and the difference is obvious: auto-trace looks lumpy, manual looks crisp. For a quick internal mockup, auto-trace is fine. For anything client-facing or print-bound, proper craftsmanship wins. The price gap is small; the quality gap is enormous.
What source files work best for raster to vector?
The bigger and sharper your source, the better the vector result. A 2000px PNG gives the designer plenty of detail to trace accurately. A 150px thumbnail forces guesswork on fine details. Scans should be at 600 DPI minimum. Photos of signage work if taken straight-on in good light. Even a blurry source can be converted, but expect the designer to interpret unclear areas. When starting the conversion, send the largest, clearest version you have, plus any brand guidelines or reference photos.
How long does raster to vector conversion take?
Simple logos take a few hours; complex illustrations can take a day or more. A typical conversion order for one logo completes within 24 hours with a professional service. Factors affecting time: number of colors, gradient complexity, text that must be matched to fonts, and how clean the source is. Rush delivery is usually available for tight deadlines. Auto-trace takes seconds but delivers seconds-quality. Real manual redrawing is skilled labor, and the timeline reflects genuine craftsmanship, not software processing.
What file formats will I receive?
A complete raster to vector delivery includes AI, EPS, SVG, and PDF vector files, plus high-resolution PNG and JPG exports. AI and EPS serve print shops and designers; SVG is perfect for websites; PDF works everywhere. The PNG and JPG are convenience exports for quick use. Every file should contain the same clean artwork. If a service delivers only one format, ask for the rest. Proper providers deliver the full package without being asked, because different uses demand different formats.
Can raster to vector fix a blurry logo?
Yes, that is exactly what it is for. Raster to vector conversion does not sharpen pixels; it replaces them. The designer studies your blurry logo and redraws every element as precise vector geometry. The new file has no blur because it has no pixels. This works even for badly degraded sources, though extremely damaged originals may need design judgment calls on unclear details. For the best outcome on blurry logos, tell the designer which details matter most so nothing important gets simplified away.
Will my colors stay accurate in raster to vector?
Yes, when done properly. The designer samples colors directly from your source file during redrawing. Provide Pantone or CMYK values for print-critical brand colors rather than relying on screen sampling alone. Note that RGB screen colors shift when converted to CMYK for print, so specify which color mode each deliverable needs. A thorough service confirms color expectations before starting, especially for logos where brand consistency is non-negotiable.
How much does raster to vector conversion cost?
Auto-trace tools are free but produce amateur results. Professional redrawing typically costs $10 to $50 per logo depending on complexity. Simple one-color logos sit at the low end; detailed multi-color illustrations cost more. Beware of suspiciously cheap services that just run auto-trace and resell the output. Genuine manual work involves a human designer making thousands of small decisions. The investment pays for itself the first time you print large without embarrassment.
7 Raster to Vector Mistakes (and How to Fix Each)
1. Accepting auto-trace as final. Raw auto-trace output looks okay at thumbnail size and terrible everywhere else. Fix: insist on manual redrawing, or at minimum have a designer clean up auto-traced paths.
2. Sending a tiny source file. A 200px logo forces the designer to invent details. Fix: hunt down the largest version available before ordering the work. Check old emails, printers, and sign makers.
3. Ignoring font matching. Redrawn text in the wrong font destroys brand consistency. Fix: identify the original font or provide a close match. Good vectorization includes proper typography, not approximations.
4. Forgetting about gradients. Auto-trace turns smooth gradients into ugly banded steps. Fix: manual redrawing rebuilds gradients as clean vector blends. Specify gradient direction and colors clearly.
5. Not requesting all formats. Getting only a JPG defeats the purpose. Fix: confirm your vector delivery includes AI, EPS, SVG, PDF, PNG, and JPG before you pay.
6. Skipping the proof review. Small shape errors slip through when nobody compares old and new. Fix: overlay the vector on the original at large size and check every curve during final review.
7. Choosing on price alone. The cheapest option is usually disguised auto-trace. Fix: evaluate providers on portfolio samples at large zoom, not on price tags.
Learn the fundamentals of vector graphics to understand why paths beat pixels for logos.
Inside the Raster to Vector Redraw Process
What actually happens between your blurry file and the crisp vector you receive.
Analysis. The designer studies your source: counting colors, identifying fonts, noting gradients, shadows, and effects. This planning stage determines the approach and catches problems early, like text too small to read or details lost to blur.
Setup. Your image is placed on a locked template layer at large size. The designer sets up color swatches sampled from the source and identifies matching fonts. Proper setup prevents mid-project color drift.
Redrawing. Using the pen tool, the designer traces every shape with clean bezier curves, keeping anchor points minimal. Circles become true circles, not 40-point approximations. This is the heart of the craft and where manual work leaves auto-trace behind.
Typography. Text is reset in the matched font, then converted to outlines. Kerning and spacing are tuned to match the original. In quality work, lettering gets as much attention as the icon.
Effects rebuild. Gradients become smooth vector blends, shadows become transparent shapes. Each effect is reconstructed natively rather than faked. This stage separates professionals from amateurs.
Quality check. The vector is overlaid on the original at 400% zoom. Every curve, corner, and color is compared. The SVG standard ensures the result works everywhere vectors are supported.
Raster to Vector Quality Checklist
- Source file is the largest, clearest version available
- All curves are smooth with minimal anchor points
- Circles and geometric shapes are mathematically true
- Fonts matched correctly and converted to outlines
- Colors sampled accurately; brand colors specified as Pantone/CMYK
- Gradients rebuilt as smooth vector blends, not banded steps
- Delivery includes AI, EPS, SVG, PDF, PNG, and JPG
- Vector overlaid on original at high zoom shows faithful match
- File scales cleanly from favicon to billboard size
- No stray points, unclosed paths, or hidden junk layers
Pro Tips for Better Raster to Vector Results
Send context, not just the file. Tell the designer where the logo appears and what matters most. A conversion order with good briefing beats one with just an attachment.
Ask for the working file. Native AI files let future designers edit easily. Any serious service provides them.
Request a black and white version. Single-color versions are essential for engraving, embroidery, and fax-era forms. Good vector delivery includes one.
Check small sizes too. A logo perfect at billboard scale may clog at favicon size. Test your new vector file at 16px and 32px.
Archive everything. Store the full vector package with your brand assets. Future you will be grateful.
Keep a changelog. Note the date, source file, and designer for every vector version you receive. When a printer asks which file is current or a designer needs the original source, a simple changelog saves hours of detective work and prevents outdated artwork from going to print.
When to Hire a Pro for Raster to Vector Work
DIY auto-trace handles drafts, but professional redrawing is worth it when quality counts.
You are rebranding or printing large. Signage, vehicles, and trade show graphics expose every flaw. Professional vector work holds up at any size.
The logo has fine details. Intricate emblems and custom lettering need human judgment that software lacks. Manual redrawing preserves what auto-trace destroys.
You have tried and failed. If your own attempts look lumpy, stop fighting the pen tool. A pro service finishes in hours what takes beginners days.
Get it done right the first time: message our team for manual redrawing with full format delivery. See our raster to vector service for details and pricing.
Choosing a Raster to Vector Service
Not all raster to vector providers deliver the same quality. Here is how to pick well.
Review real portfolios. Ask to see before-and-after samples at large zoom. Quality raster to vector work shows smooth curves and faithful details; poor work shows lumps and simplifications. If a provider cannot show samples, move on.
Confirm manual redrawing. Ask directly: is this hand-drawn or auto-traced? Honest raster to vector services state their method upfront. Vague answers usually mean software doing the work.
Check the deliverables list. A complete raster to vector package includes AI, EPS, SVG, PDF, PNG, and JPG. Providers offering only one or two formats are cutting corners.
Test communication. Send a question before ordering. Responsive raster to vector providers answer quickly and clearly; slow or evasive replies predict a frustrating order.
Compare turnaround honestly. Genuine raster to vector redrawing takes hours, not minutes. Instant delivery claims are a red flag for auto-trace reselling.
Read the revision policy. Good raster to vector services include reasonable revisions. You should be able to request tweaks without paying full price twice.
The right raster to vector partner becomes a long-term asset: once they know your brand, every future order gets faster and more accurate.
Raster to Vector Glossary
Vector: Image defined by mathematical paths; infinitely scalable. The goal of raster to vector conversion.
Raster: Image made of pixels; resolution-dependent and blurry when enlarged.
Bezier curve: The smooth path segments vectors are built from.
Anchor point: Control points defining a vector path; fewer is cleaner.
Auto-trace: Software that guesses vector paths from pixels; fast but crude.
Outlines: Text converted to vector shapes, immune to font problems.
Effective DPI: Real resolution of a placed image after scaling.
SVG: Web-friendly vector format supported by all modern browsers.
EPS: Legacy print vector format still requested by many shops.
Redraw: Manually recreating artwork as vectors; the professional vectorization method.
Bottom line: Manual vectorization done right gives you a logo that works everywhere, forever. It is one of the highest-ROI investments a brand can make.
Quick reference: Raster to vector conversion transforms pixel-based images into infinitely scalable vector paths. The raster to vector process requires manual redrawing for best quality — auto-trace rarely matches professional standards. Always request AI, EPS, SVG, and PDF formats.